I recently got a Tormach PCNC 770 CNC milling machine. So far, I’m very happy with it (but have not cut much yet). I figured that since I wouldn’t be using flood cooling, that I could get away without a full enclosure. But even with mist rather than flood, chips were shot everywhere, so I decided to roll my own enclosure using 80/20 parts https://www.8020.net/
There are lot of similar designs on-line, but the one I used most for guidance was by sauni68 on YouTube: https://www.youtube.com/watch?v=FddiAAuI2Rg
His was a design for a PCNC 1100, but his video still has several good tips that are appropriate for the 770.
Here is the cut list from 80/20:
- 4 pieces of PN 1010: 1″ x 1″ T-slot, 61.5″ long – (long horizontal rails for front and back)
- 10 pieces of PN 1010: 1″ x 1″ T-slot, 37″ long – (side horizontal rails and vertical rails. Note that I have two extra verticals in the back that may not be needed in some designs)
- 1 piece of PN 2211: 10 Series Upper Door Slide, 61.5″ long (for front doors)
- 1 piece of PN 2221: 10 Series Lower Door Slide, 61.5″ long (for front doors)
- 1 piece of PN 2211: 10 Series Upper Door Slide, 36.5″ long (for side doors)
- 1 piece of PN 2221: 10 Series Lower Door Slide, 36.5″ long (for side doors. Note that I only have sliding doors on on the right side. You’ll need 2 of 2211 and 2221 if you want sliding doors on both sides)
- 18 pieces of PN 4081: L flat plate corner bracket
- 100 pieces of PN 3382: T-nut (72 are needed for the brackets at 4-per, but I got extras for hanging things off the slots.
- 100 pieces of PN 65-3061: 1/4-40 x 0.5″ Button Head Socket Cap Screw
Total 80/20 cost (as of 2/2016) was $407 (not including shipping or tax)
These pieces should go together with no further cutting, but measure your machine to be sure. The vertical and side horizontal rails are the same length. The enclosure hangs about 5″ over the front of the PCNC 770’s pan to allow room for a vise, and also room for the motor cover to swing completely open without hitting the frame.
I used 0.238″ thick clear polycarbonate (Lexan or similar) for doors on the front and right side and Coroplast plastic sheet for the left side and back. You can save money by using more Coroplast (only $15 for a 4’x8′ sheet at Home Depot) and less polycarbonate, which is pretty expensive.
Polycarbonate panels were ordered from InterstatePlastics.com:
- 2x 0.236″ x 13″ x 36.5″ (outer sliding panels for front)
- 2x 0.236″ x 17.75″ x 36.5″ (inner sliding panels for front)
- 2x 0.236″ x 19″ x 36.5″ (sliding panels for right side)
Total charge for the door was $336 plus $22 shipping, so total parts cost was about $750. You can also get polycarb sheets from 80/20 but they didn’t seem to sell this thickness (or maybe I misunderstood their ordering info). I wanted thicker panels, not for more protection, but just so they (hopefully) wouldn’t wobble. In any case, I was surprised how expensive this stuff is.


One thing I forgot to photograph is that there are counter sunk holes in the lower back and side rails that line up with the backsplash mounting holes in the top edge of the pan. In sauni68’s video, he details these holes and how he made them (at 1:15 in the video). I think he added some holes to the pan, but I did not do this. For the smaller size of the 770, the existing holes are very secure.

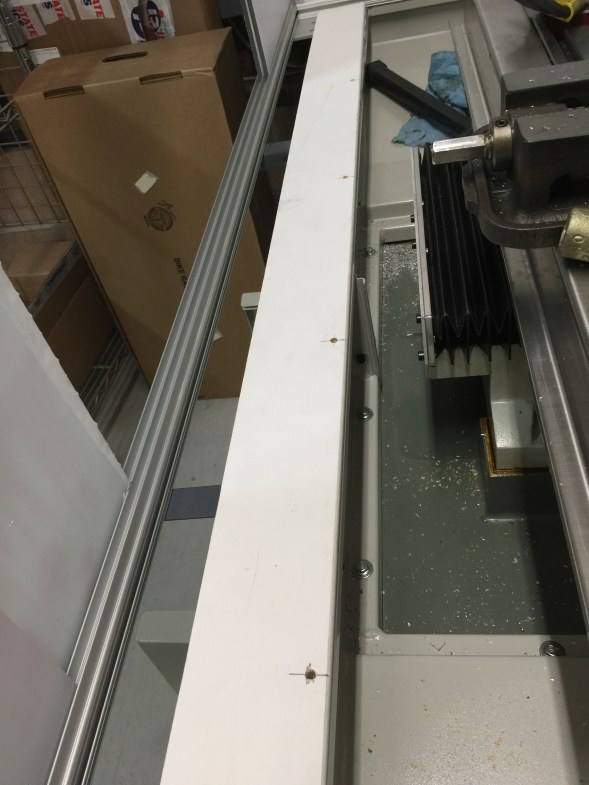
I got some wood trim panels to build support for the aluminum cover of the “porch”. The lower board (shown above) has to be about 3/8″ thick so that its top edge lines up with bottom of the slot in the 80/20 rails. A wider board that sits on top of that (shown below) is 0.18″ thick marker board cut into two 5″ x 30 sections (I couldn’t get a 60″ long piece). These slide into the 80/20 slots on front and the sides. After I glued this up, I had to partially disassemble the frame to fit it in. I might have been able to bow it, but I didn’t want to risk breaking what I just made.


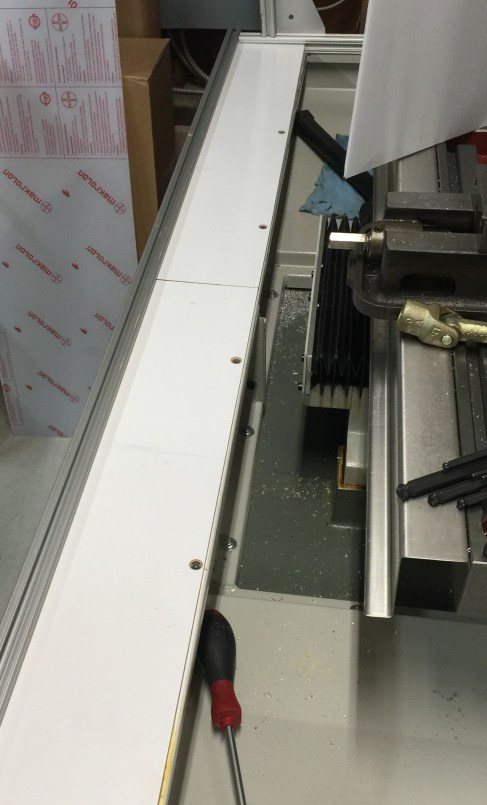
There are 4 holes in the front top edge of the pan that are tapped for 5mm screws. These were for mounting the steel front trim cap. I removed that and used the holes to help mount my shelf. Run bolts up through the bottom of the holes (temporarily) and then press down on the shelf to mark the spots for drilling. Counter sink the holes and then mount the shelf with flat-head screws.
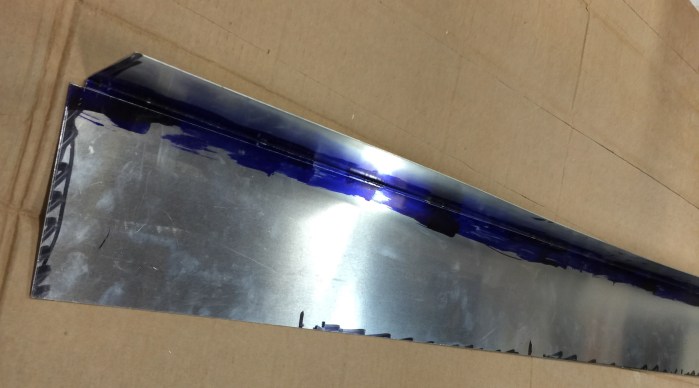
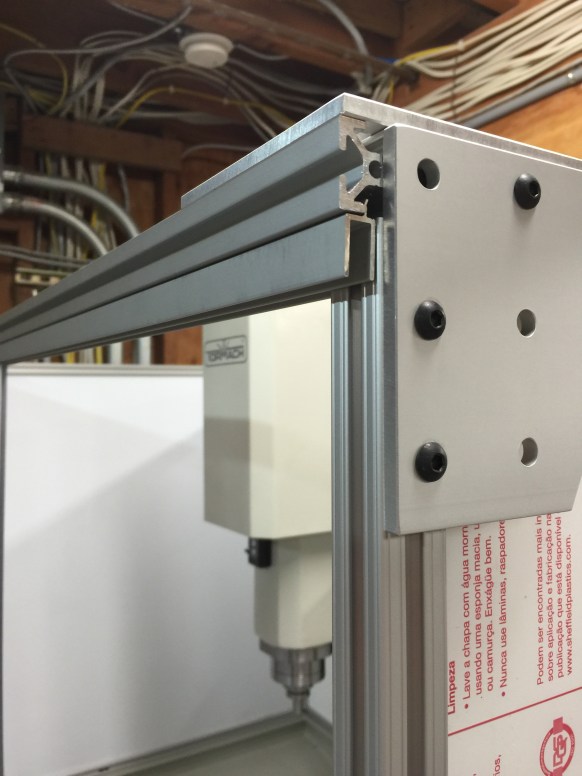
The porch is then covered by this 0.040″ aluminum sheet that I cut with a circular saw (60″ – too long for shear) and bent-up at the Techshop. The sheet is 6.5″ x 60″ and bent 90 degrees the long way to form a 5″ top and 1.5″ vertical face (which points down). Notice how the vertical face is notched so the top fits in the side slots without the down-bend getting in the way.


The aluminum cover in place and locked in with a stop-block on each side. Note that after making the bend, the aluminum sheet has no flex, so you want to fit it in while the side rails are loose. I don’t think you’ll be able to wedge or bow it in place.
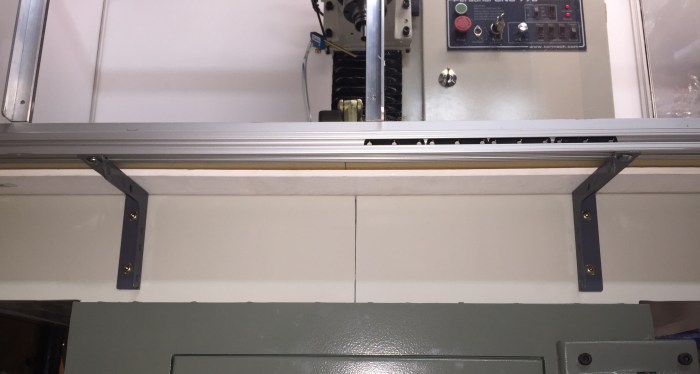
The lower front rail needs to be supported, otherwise the track will sag and the doors will not line up without gaps. I used two modified metal corner brackets (not from 80/20).

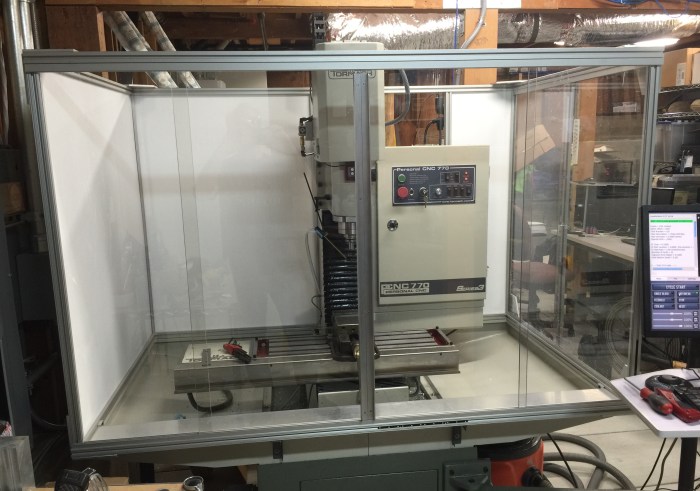
Finished box. I used 3/4″ x 3/4″ x 1/8″ aluminum angle as door handles and to stiffen up the doors a bit. Still need an external estop and some hangers for various tools, but otherwise done. Now to see how it plays.
After having the enclosure up for a few weeks, here are some update tips:
- I got a few “paper cuts” from the factory-cut edges of the polycarbonate doors, so I rounded off all the cut edges with a file.
- Since the doors are so clear and they slide out from the side of the box, I’ve bumped into them a few times. I ran a line of red tape down the outside edge of the right door to help me notice when it’s sticking out past the box.
- I had some bigger work to handle, and mounted a 6″ Kurt vise on the table. It looks kind of silly on a 770 table, but it *does* clear the front of the box with Y travel all the way forward. Sorry – no picture yet.
