There are many CNC touch probes of varying quality available for the Tormach. The two offerings from Tormach are a “passive” probe for about $250, and a “digitizing” probe for $1250. I opted to buy a used Renishaw probe on eBay in an attempt to get the quality and performance of a digitizing probe, but for less than the price of the passive probe.
The cost of used probes on eBay vary all over the map, but I got what I thought was a good deal – a Renishaw MP11 for about $150. My eBay probe came with no cable (more on that later) and had a 1/2″ straight shank, but I figure those shortcomings would not be too hard to rectify.

It turned out that my MP11 “deal” was less “great” than I thought because of the “outer diaphragm” issue, which I later found out is common with old Renishaw probes. There are supposed to be two rubber seals that surround the stylus base and keep out dirt while also sealing in some secret oil that prevents corrosion of the contacts. The seals look like tiny gear-shifter boots. They are described (somewhat) in the MP11 manual, starting on page 1-16:
MP11 installation and user’s guide
Also, just for completeness sake, here’s the MP11 data sheet:
Both boots (or “diaphragms”, as Renishaw calls them) on my MP11 were disintegrated. They are frequently damaged from getting poked, or dried out and crumbly from chemical exposure or simply time. There were only little fragments of rubber left. Note: If buying used probes on eBay or elsewhere, if at all possible, try to determine the condition of the “boots”. If you can’t determine the condition, expect them to be shot.
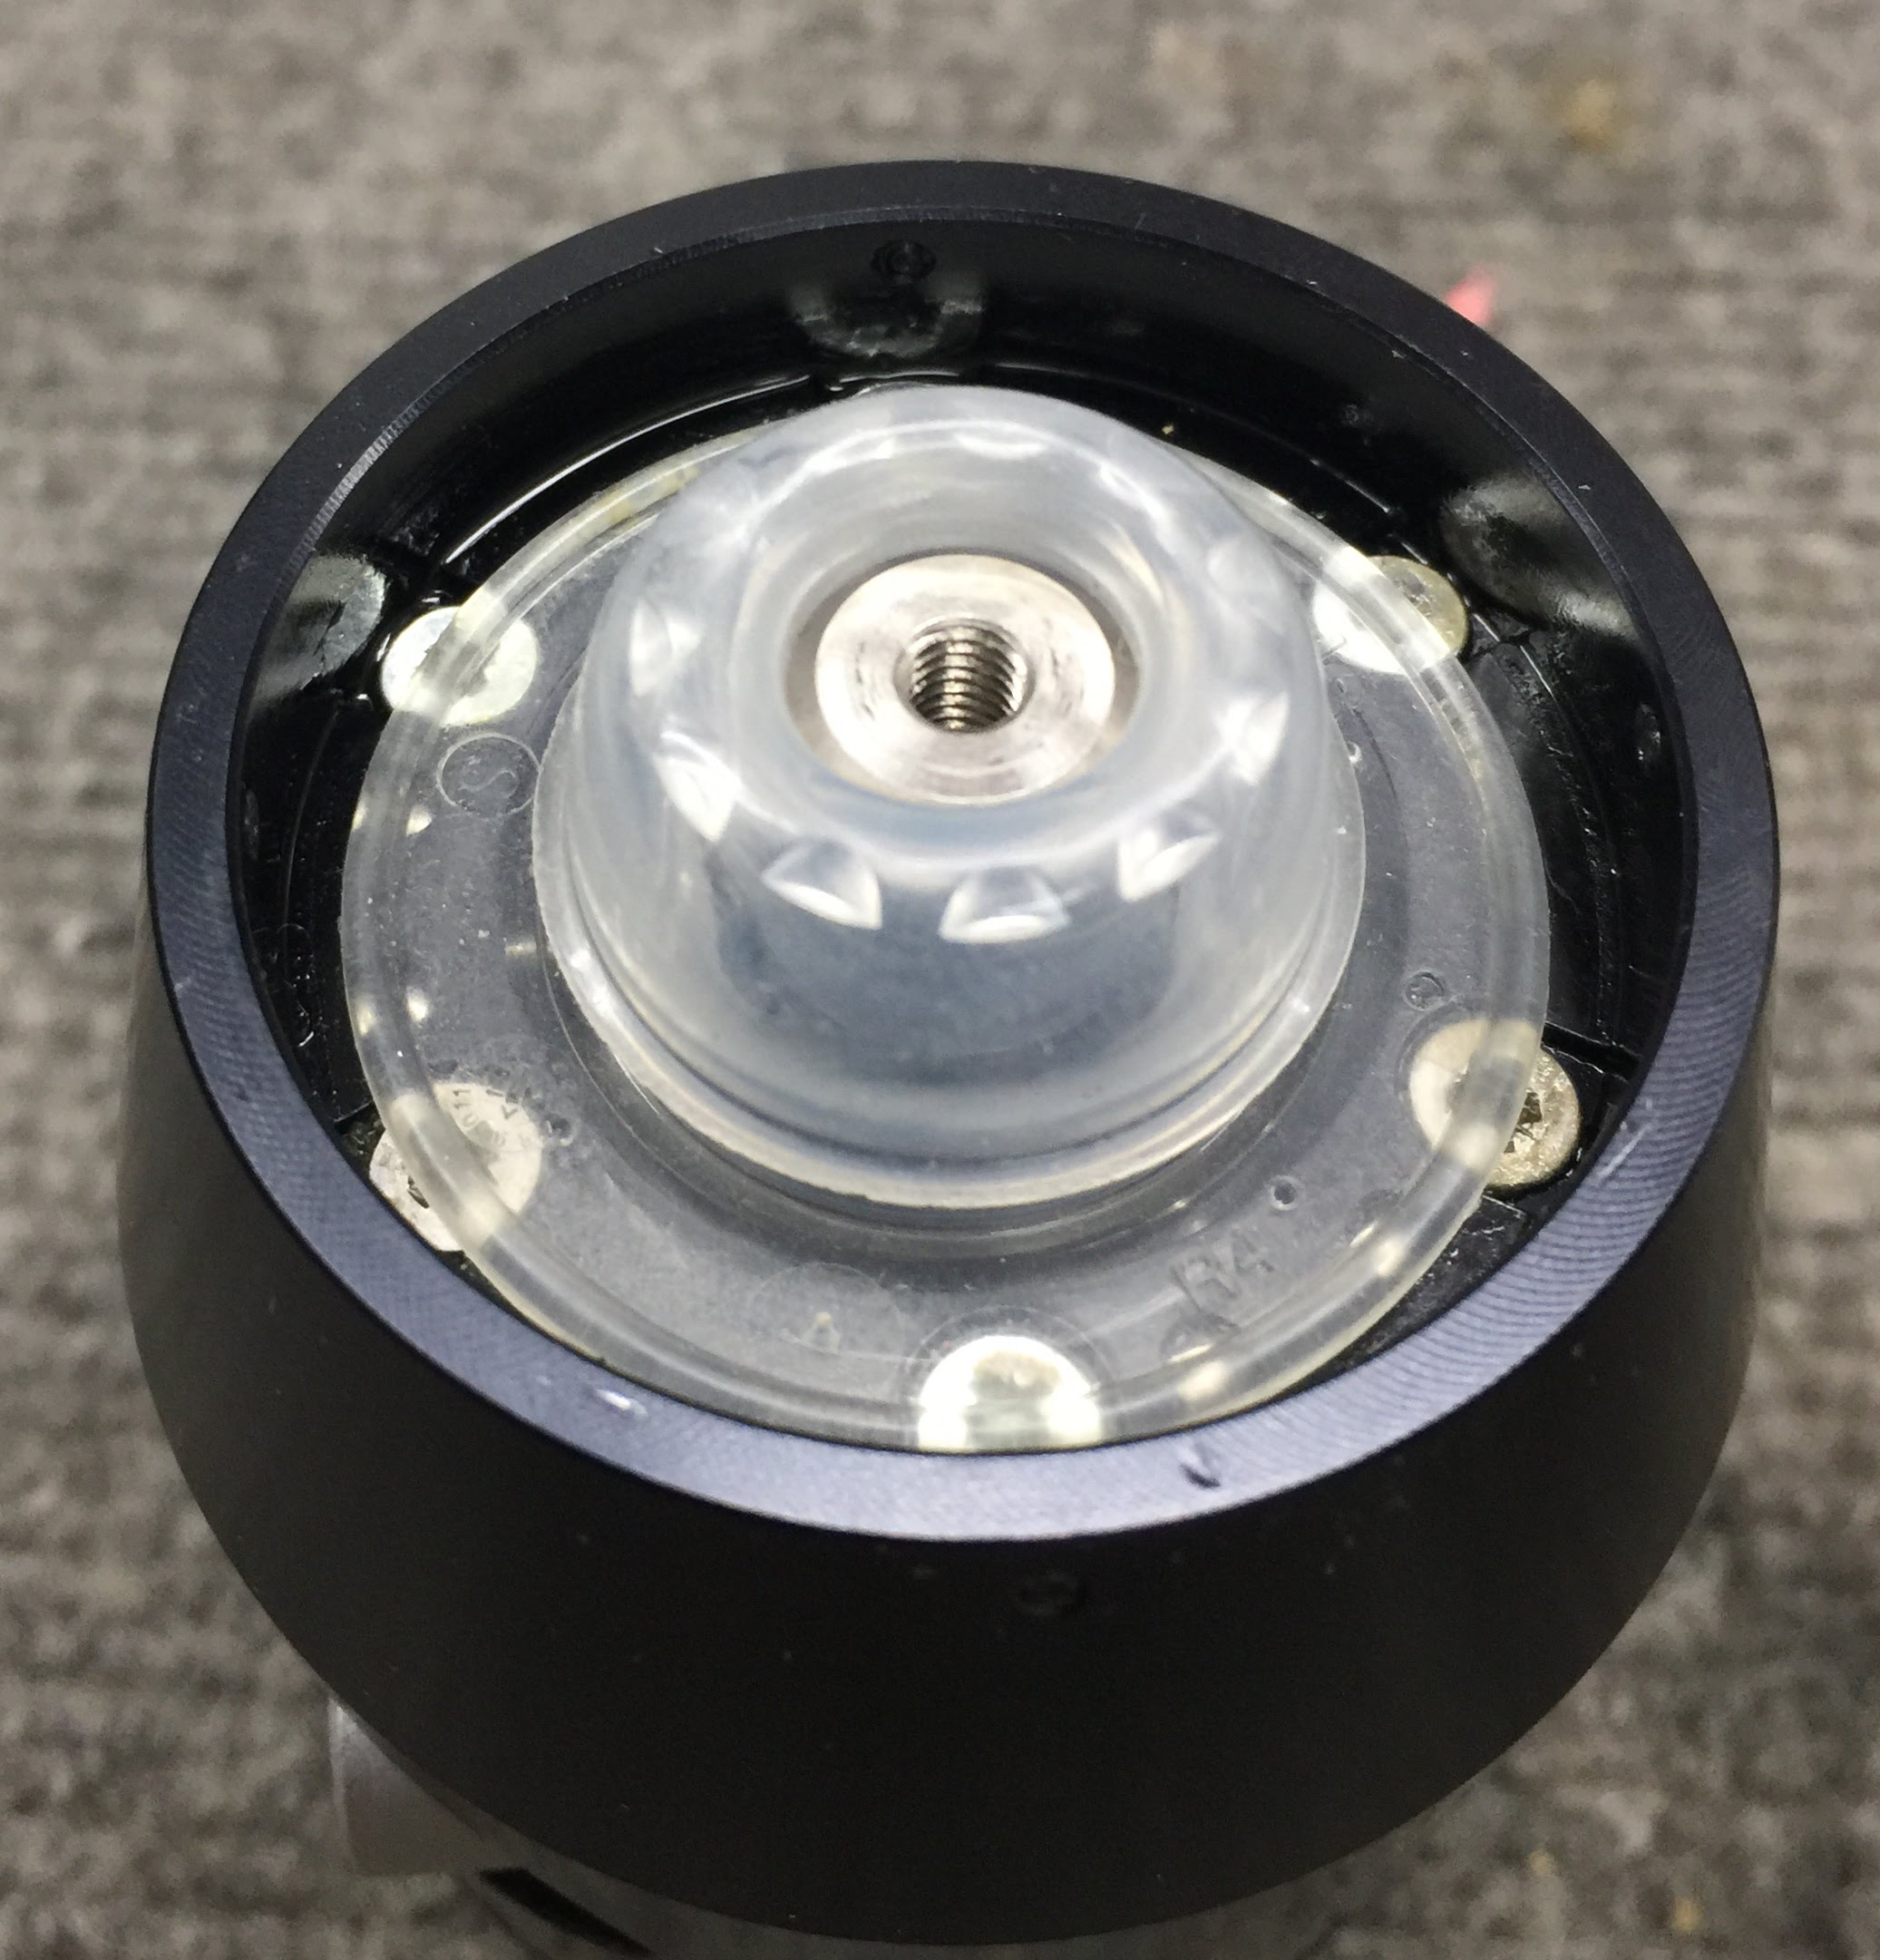
After clearing out the rubber bits and removing the front cover plate, my probe looked like this:
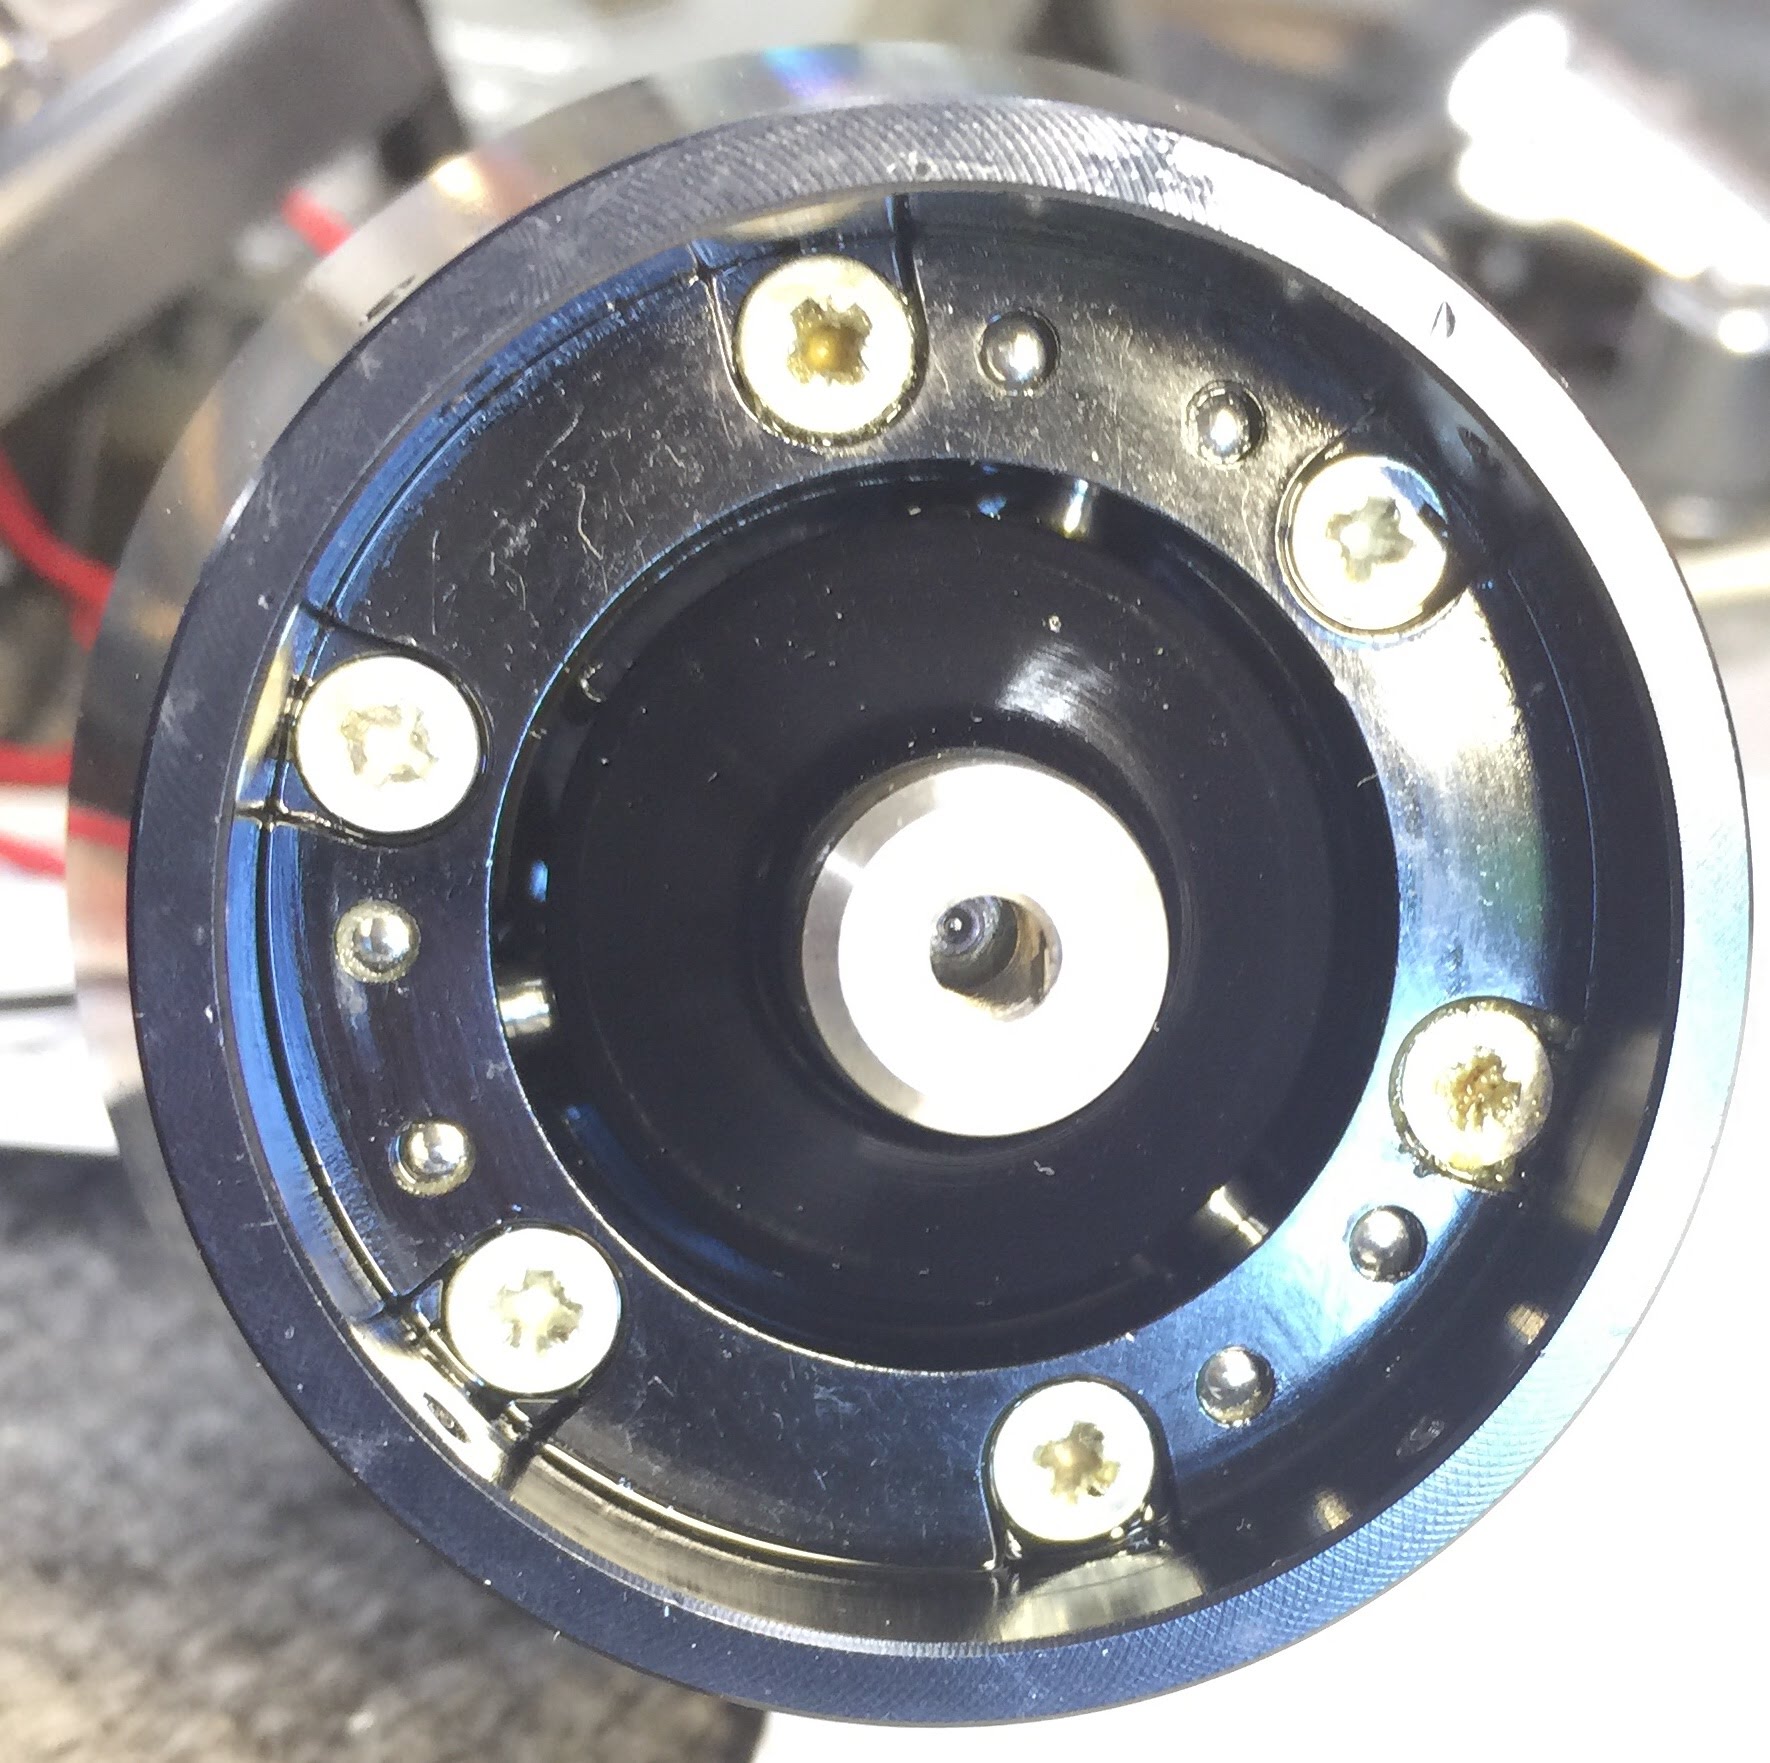
Overall, it looked pretty decent apart from having no boots. You can see the three radial contact pins and the seats for the contact balls. If the boots were intact, those parts would be covered and not visible.
The <$1 Diaphragm Solution
The bad news in the MP11 documentation is that only the outer diaphragm is deemed user replaceable. Replacing the inner diaphragm supposedly requires factory authorized service. A call to Renishaw (They were pretty good about answering the phone, BTW) determined that the inner diaphragm is no longer sold because the MP11 has been out of production for many years, while the outer diaphragm costs $100!! I might have spent the $100 if my probe was missing only the outer boot, but given that spending real money would only get me one of the two, I figured I may as well try to solve this on the cheap.
To replace one boot, I bought these:
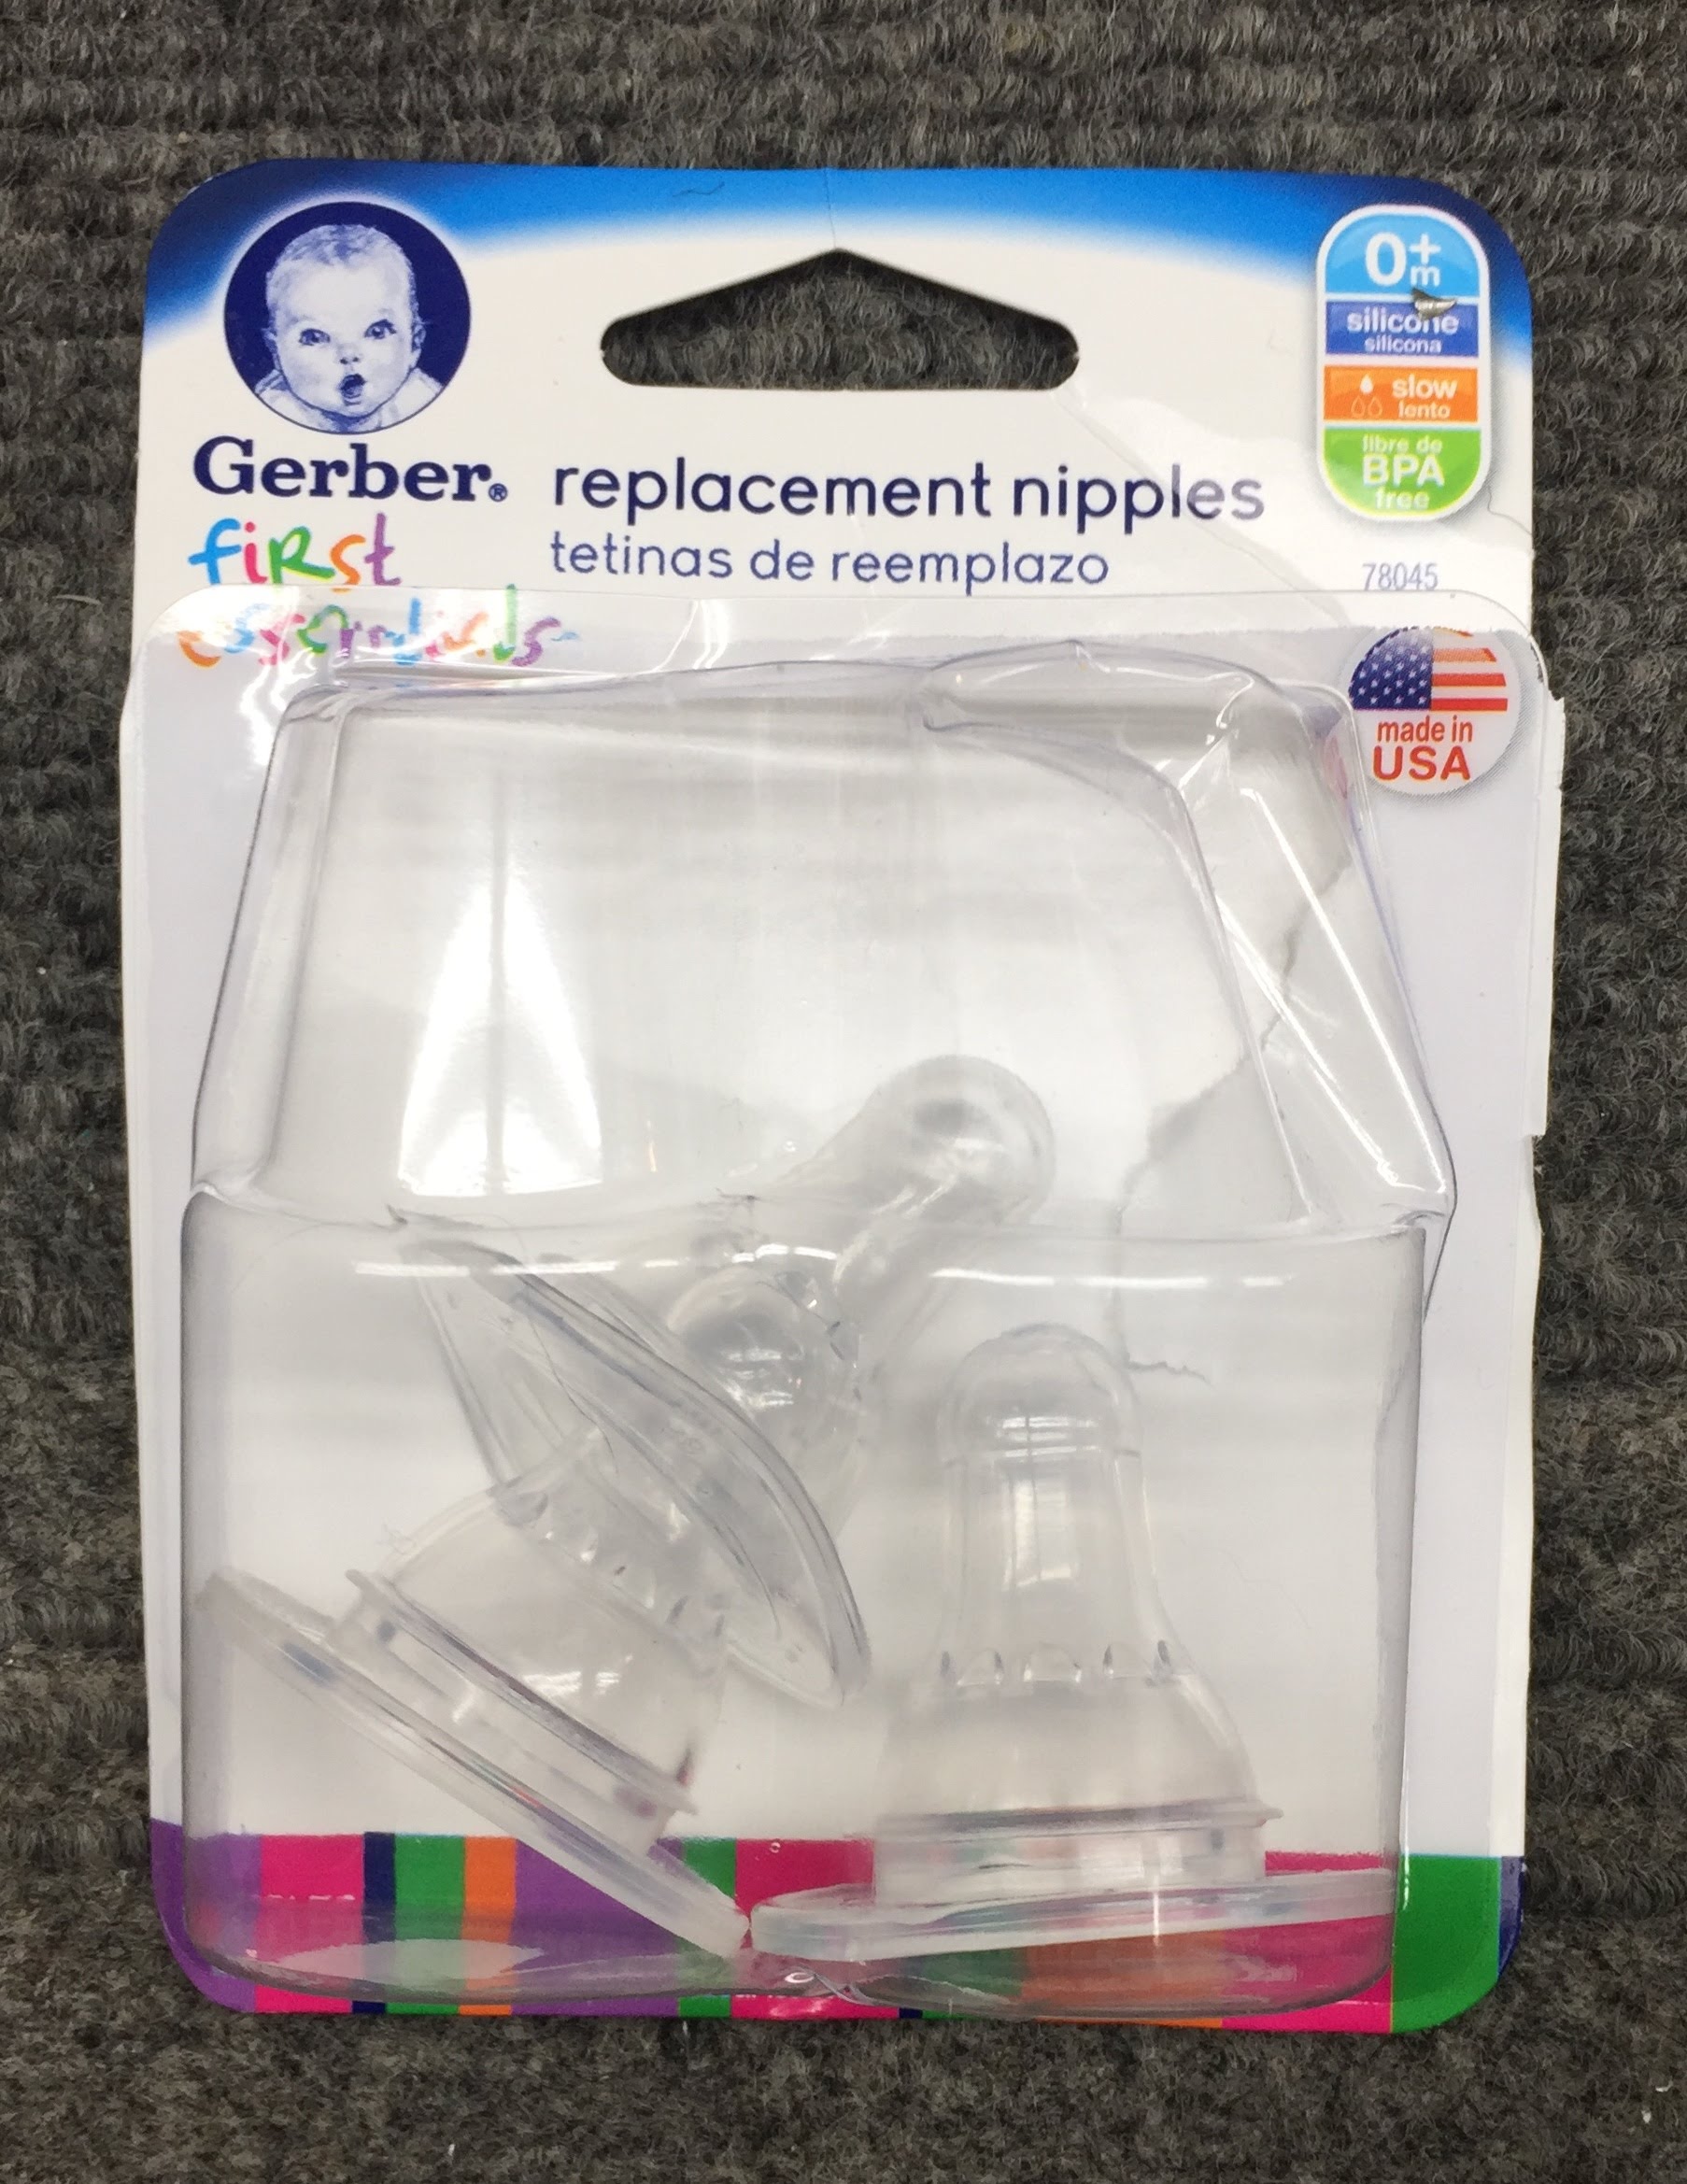
Yup, baby bottle nipples. Amazon link:
I then cut a larger hole in the tip using a 3/16″ hole punch.
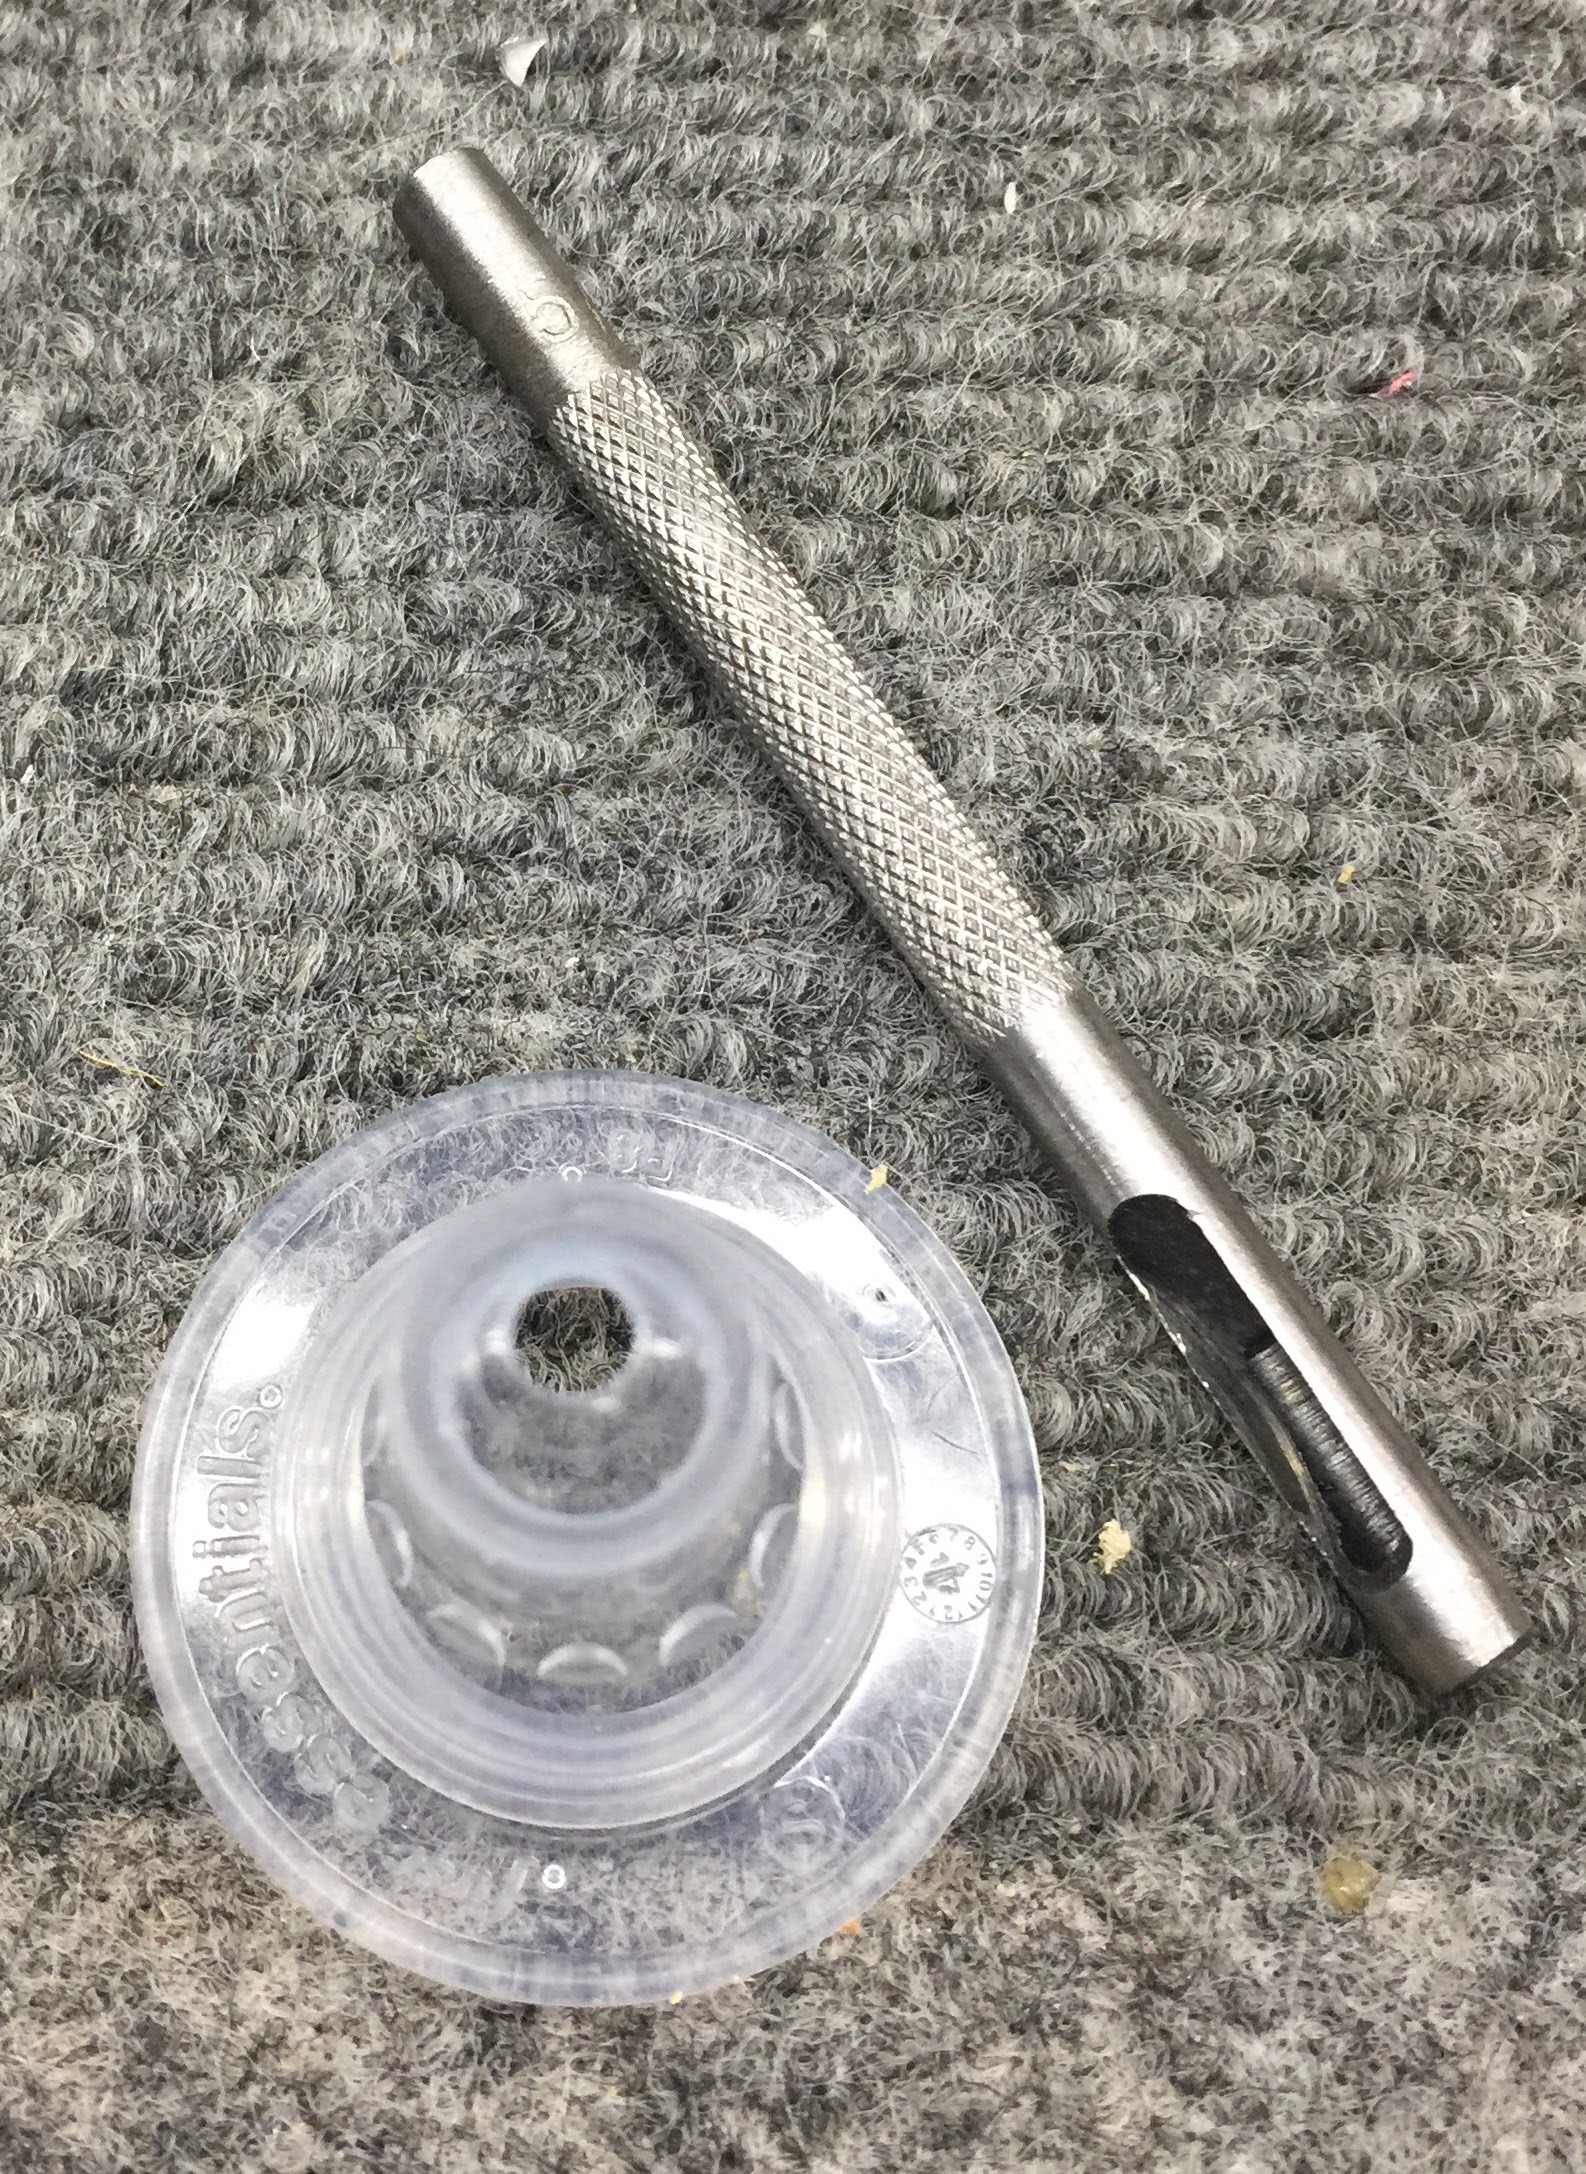
The 3/16″ hole is very tight fit over the stylus base and fits into a recess. There was an o-ring in the recess (presumably left from the old diaphagm) which I removed. I flipped the nipple inside-out and pulled it over the stylus base (stylus not attached yet) at the nose of the probe like so:
Stretching the hole over the stylus base took some work, but I wanted it to be a tight stretch to get a good seal. Then I pushed the nipple down so that it folded over itself accordion-style as shown below.
The cover plate with an o-ring seal is supposed to go over the front, but the raised base flange of the Gerber nipple is too thick to allow the plate to fully seat. Normally, when faced with a $0.50 item (the nipple) and an expensive device (the probe) that don’t mate together, the wise approach would be to hack the $0.50 part to facilitate a fit. Of course I’m bringing this up because that’s not what I did.
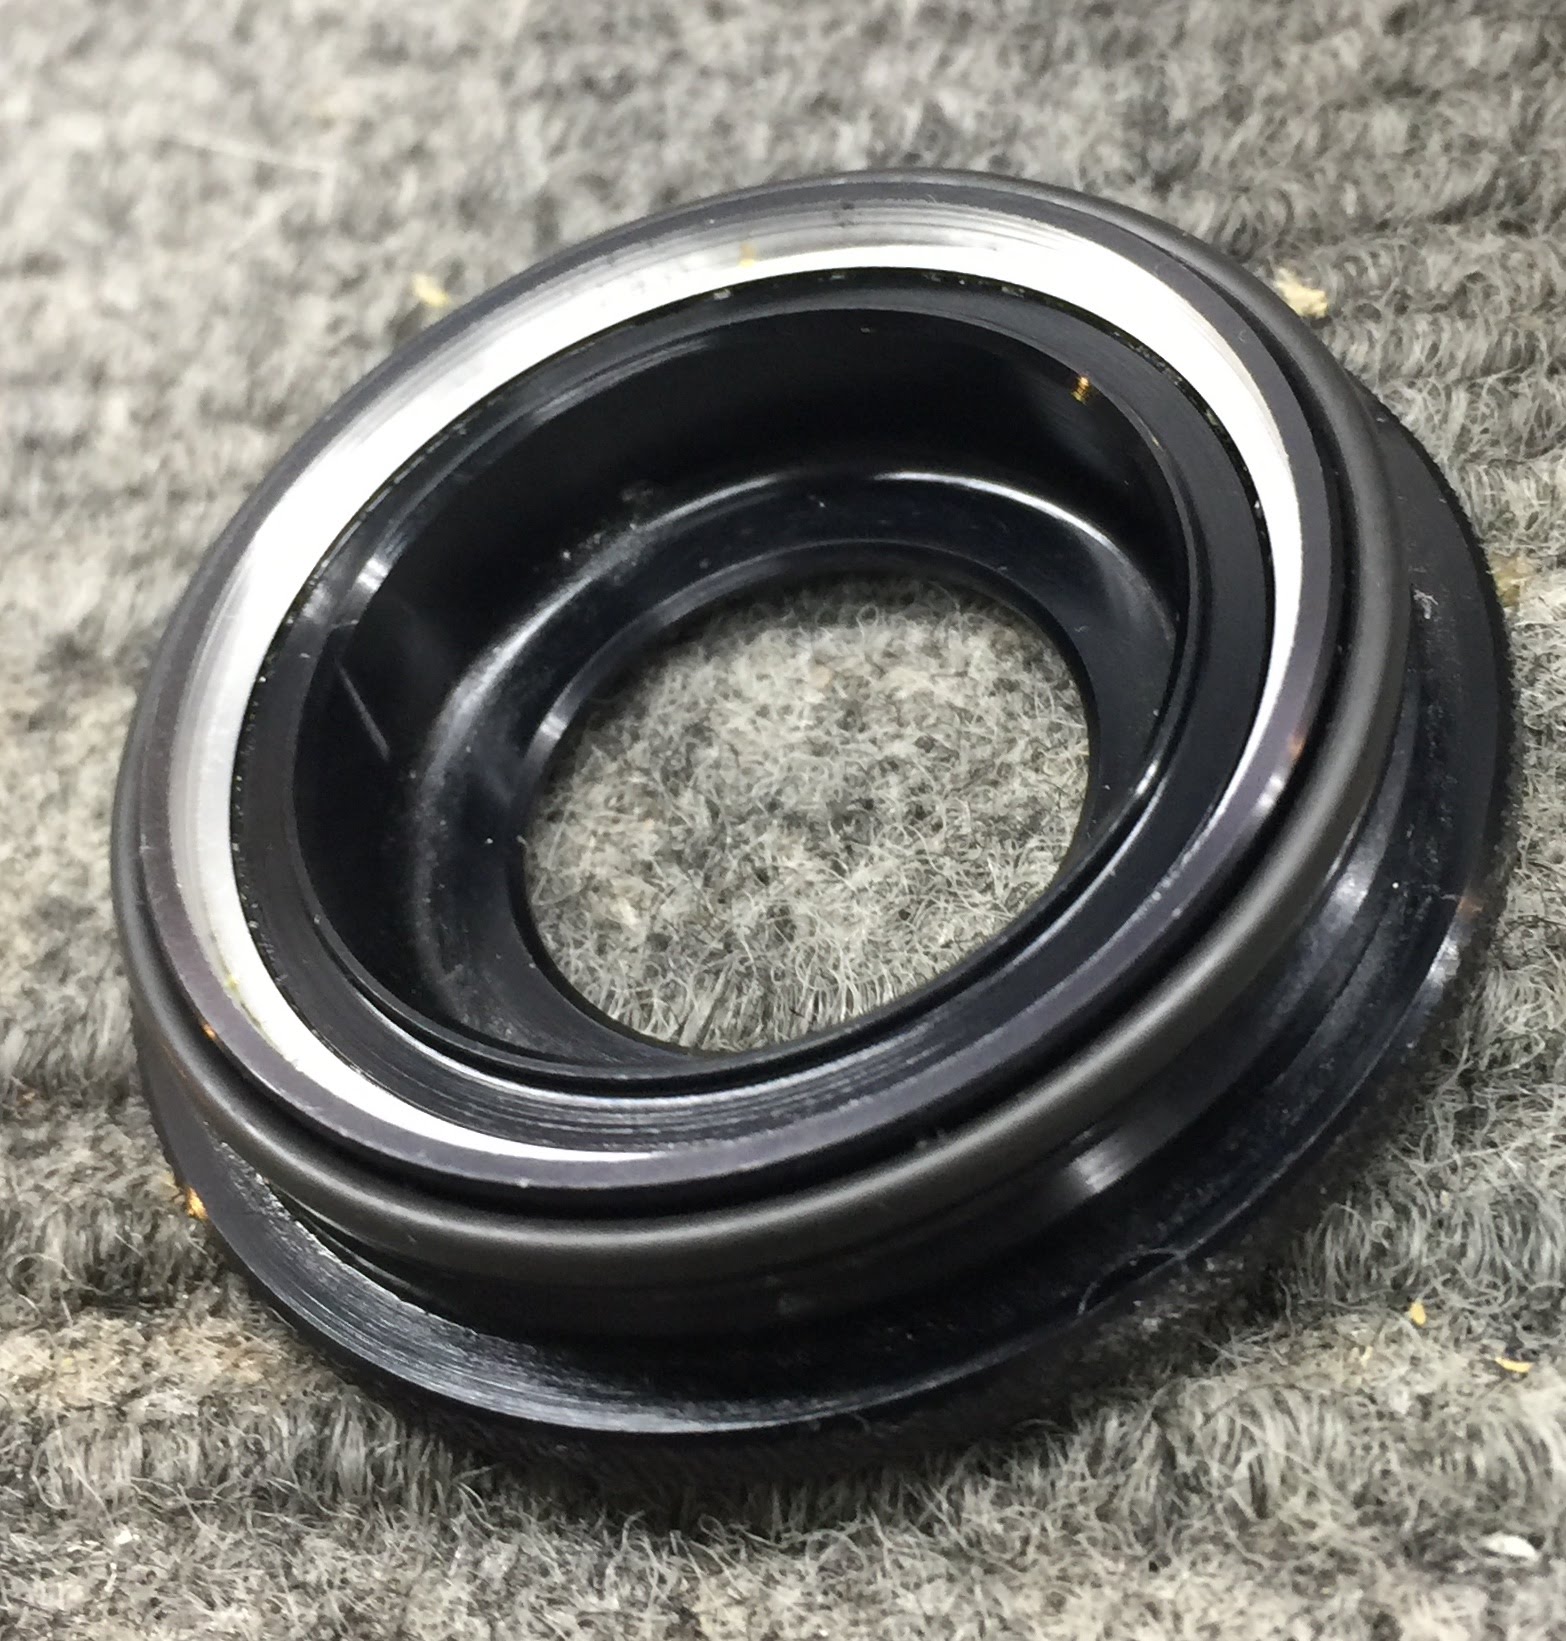
I figured I could not cut the rubber nipple flange without making a messs, especially if I was trying to make it thinner. Instead, I opted to cut a recess in the cover plate (using a lathe) to accept the raised rubber edge of the nipple.

You can see the cut in the above picture where the black anodizing has been removed. The back had been cut in to a depth of 0.08″ and to an ID of 1.465″ (to fit the OD of the nipple base flange). This leaves a very thin wall on the outside edge to hold the o-ring.
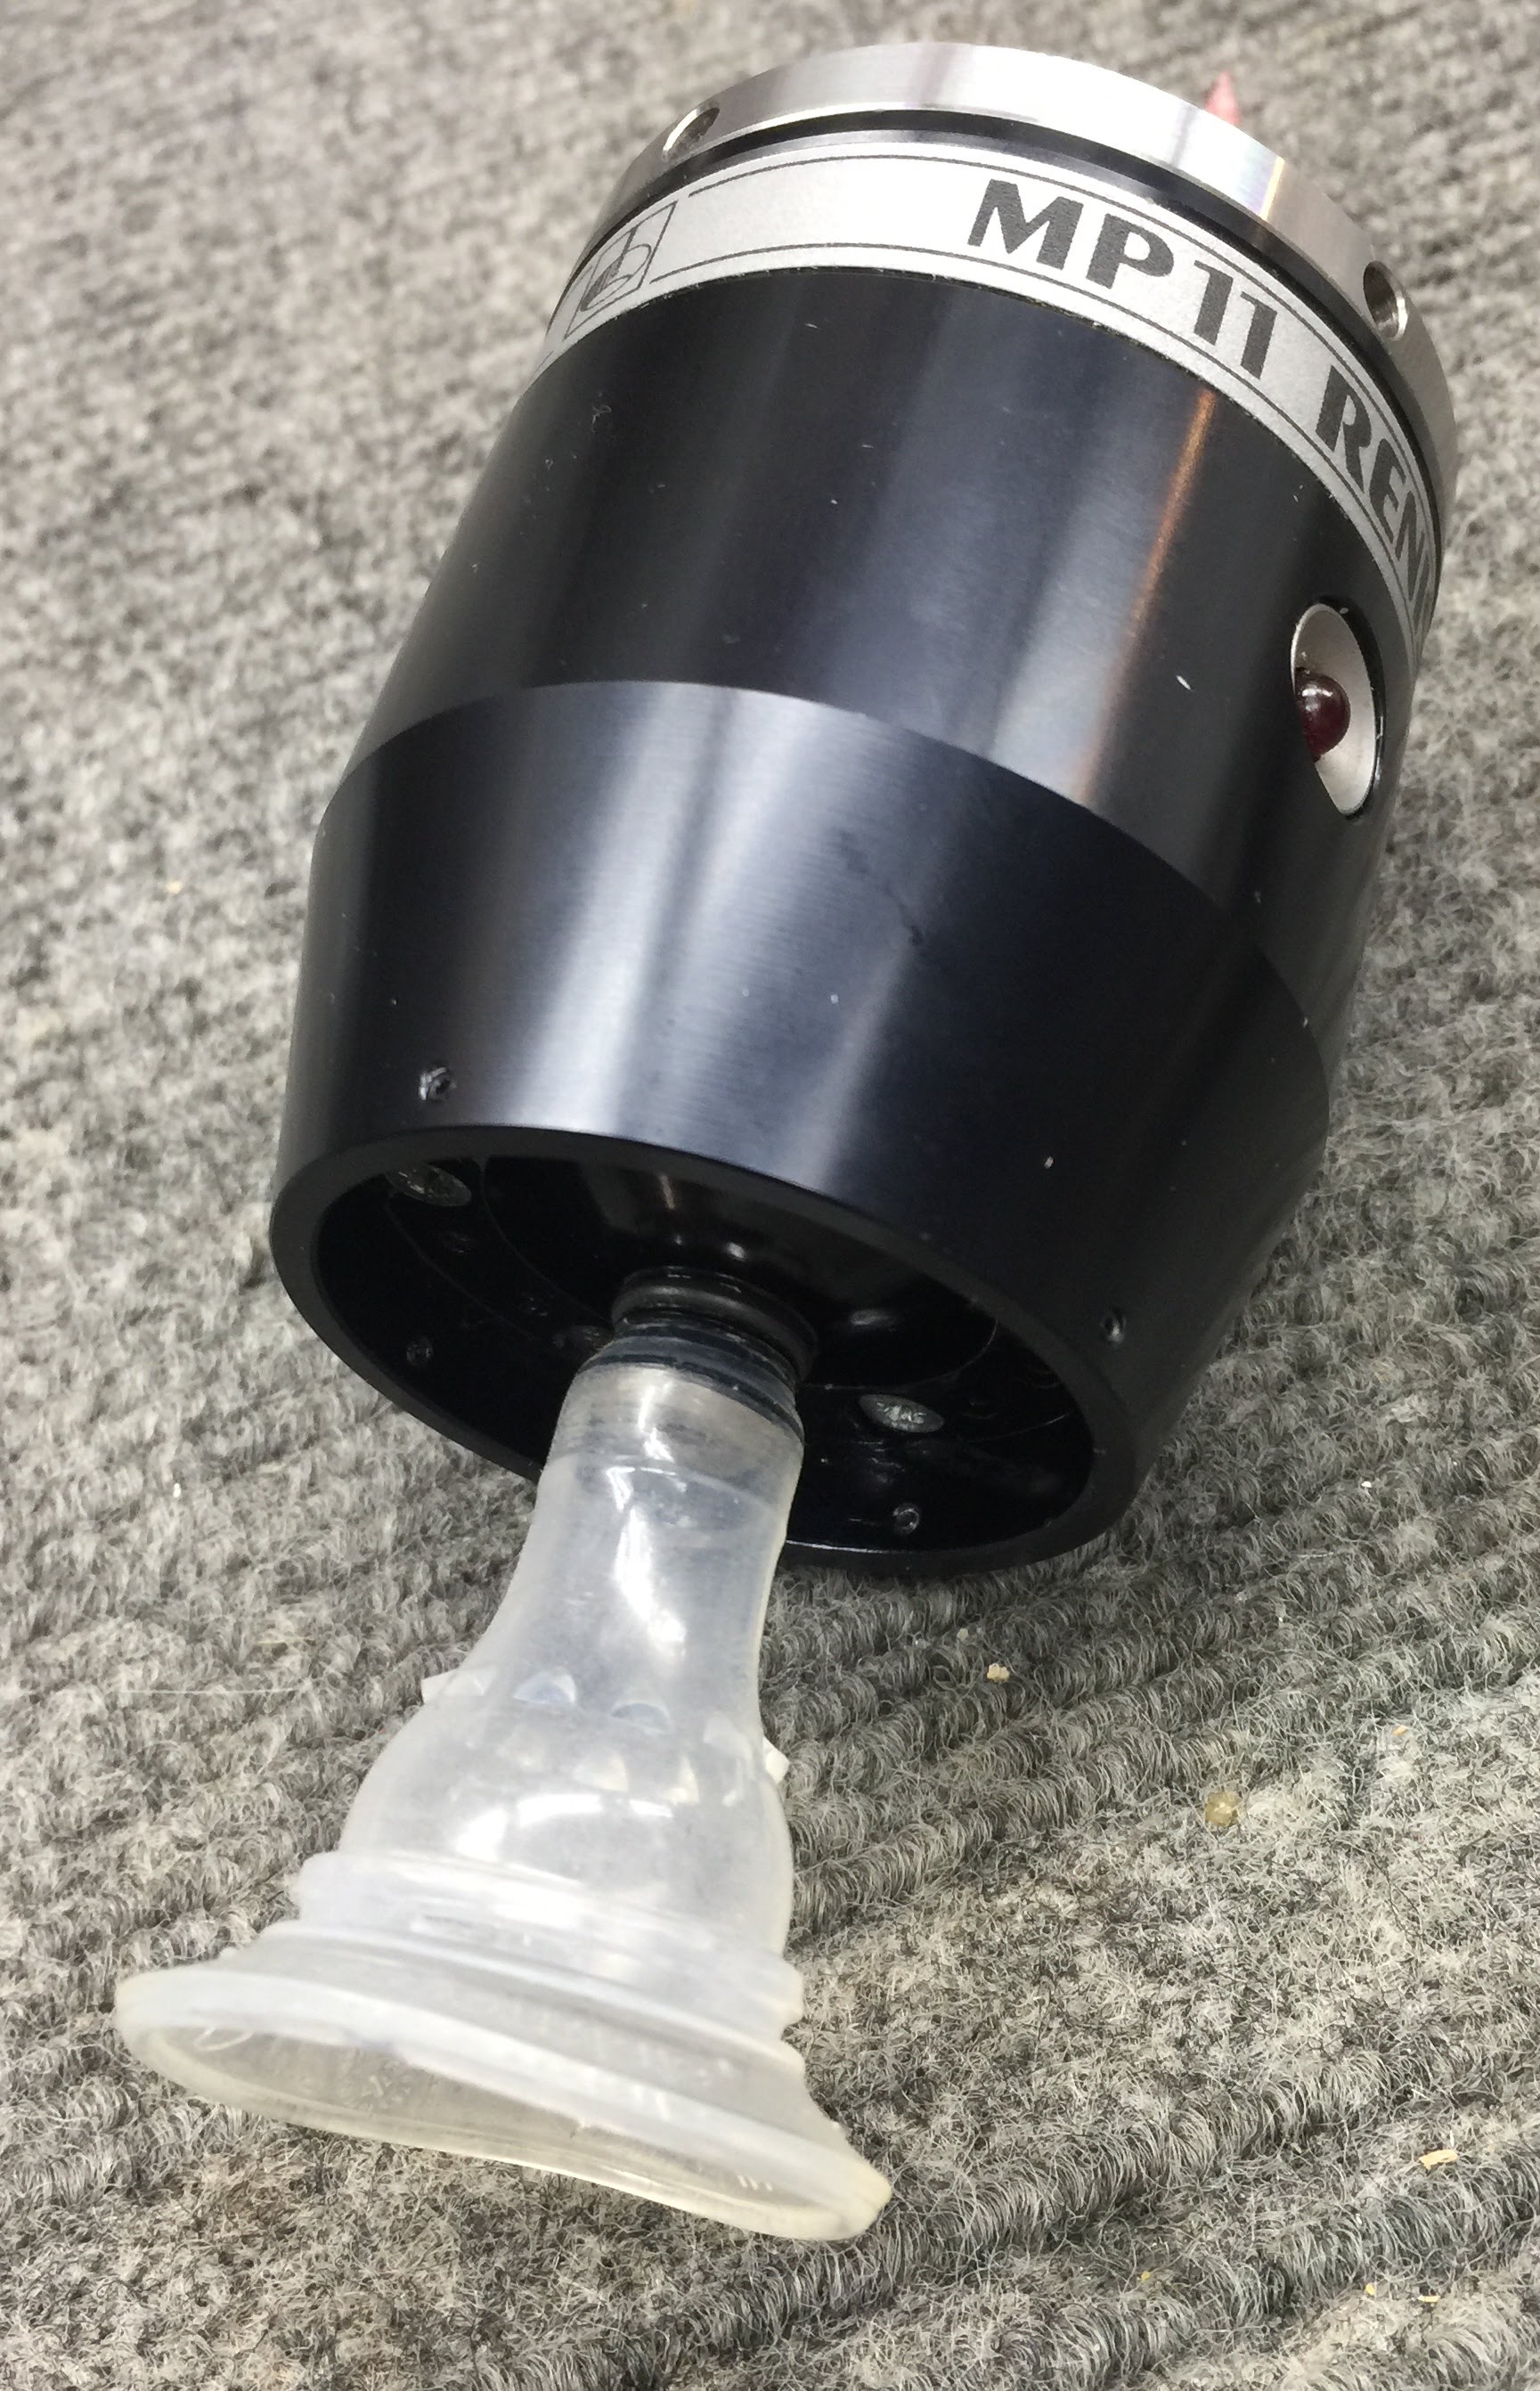
Once the nose plate is installed, this is how it all fits. The Gerber nipple is obviously bulkier than the original seals, but not bad for less than $1:
The heavier rubber compared to the Renishaw boot will likely make stylus movement stiffer. The probe has a spring tension adjustment which could be reduced to offset this, but for now I’ll try it as is. Before sealing it all up, I put about 6 drops of mineral oil (actually vacuum pump oil) under the nipple. I have no idea if this will prevent contact corrosion, but I figured I’d give it a try.
Tormach TTS Shank Adapter
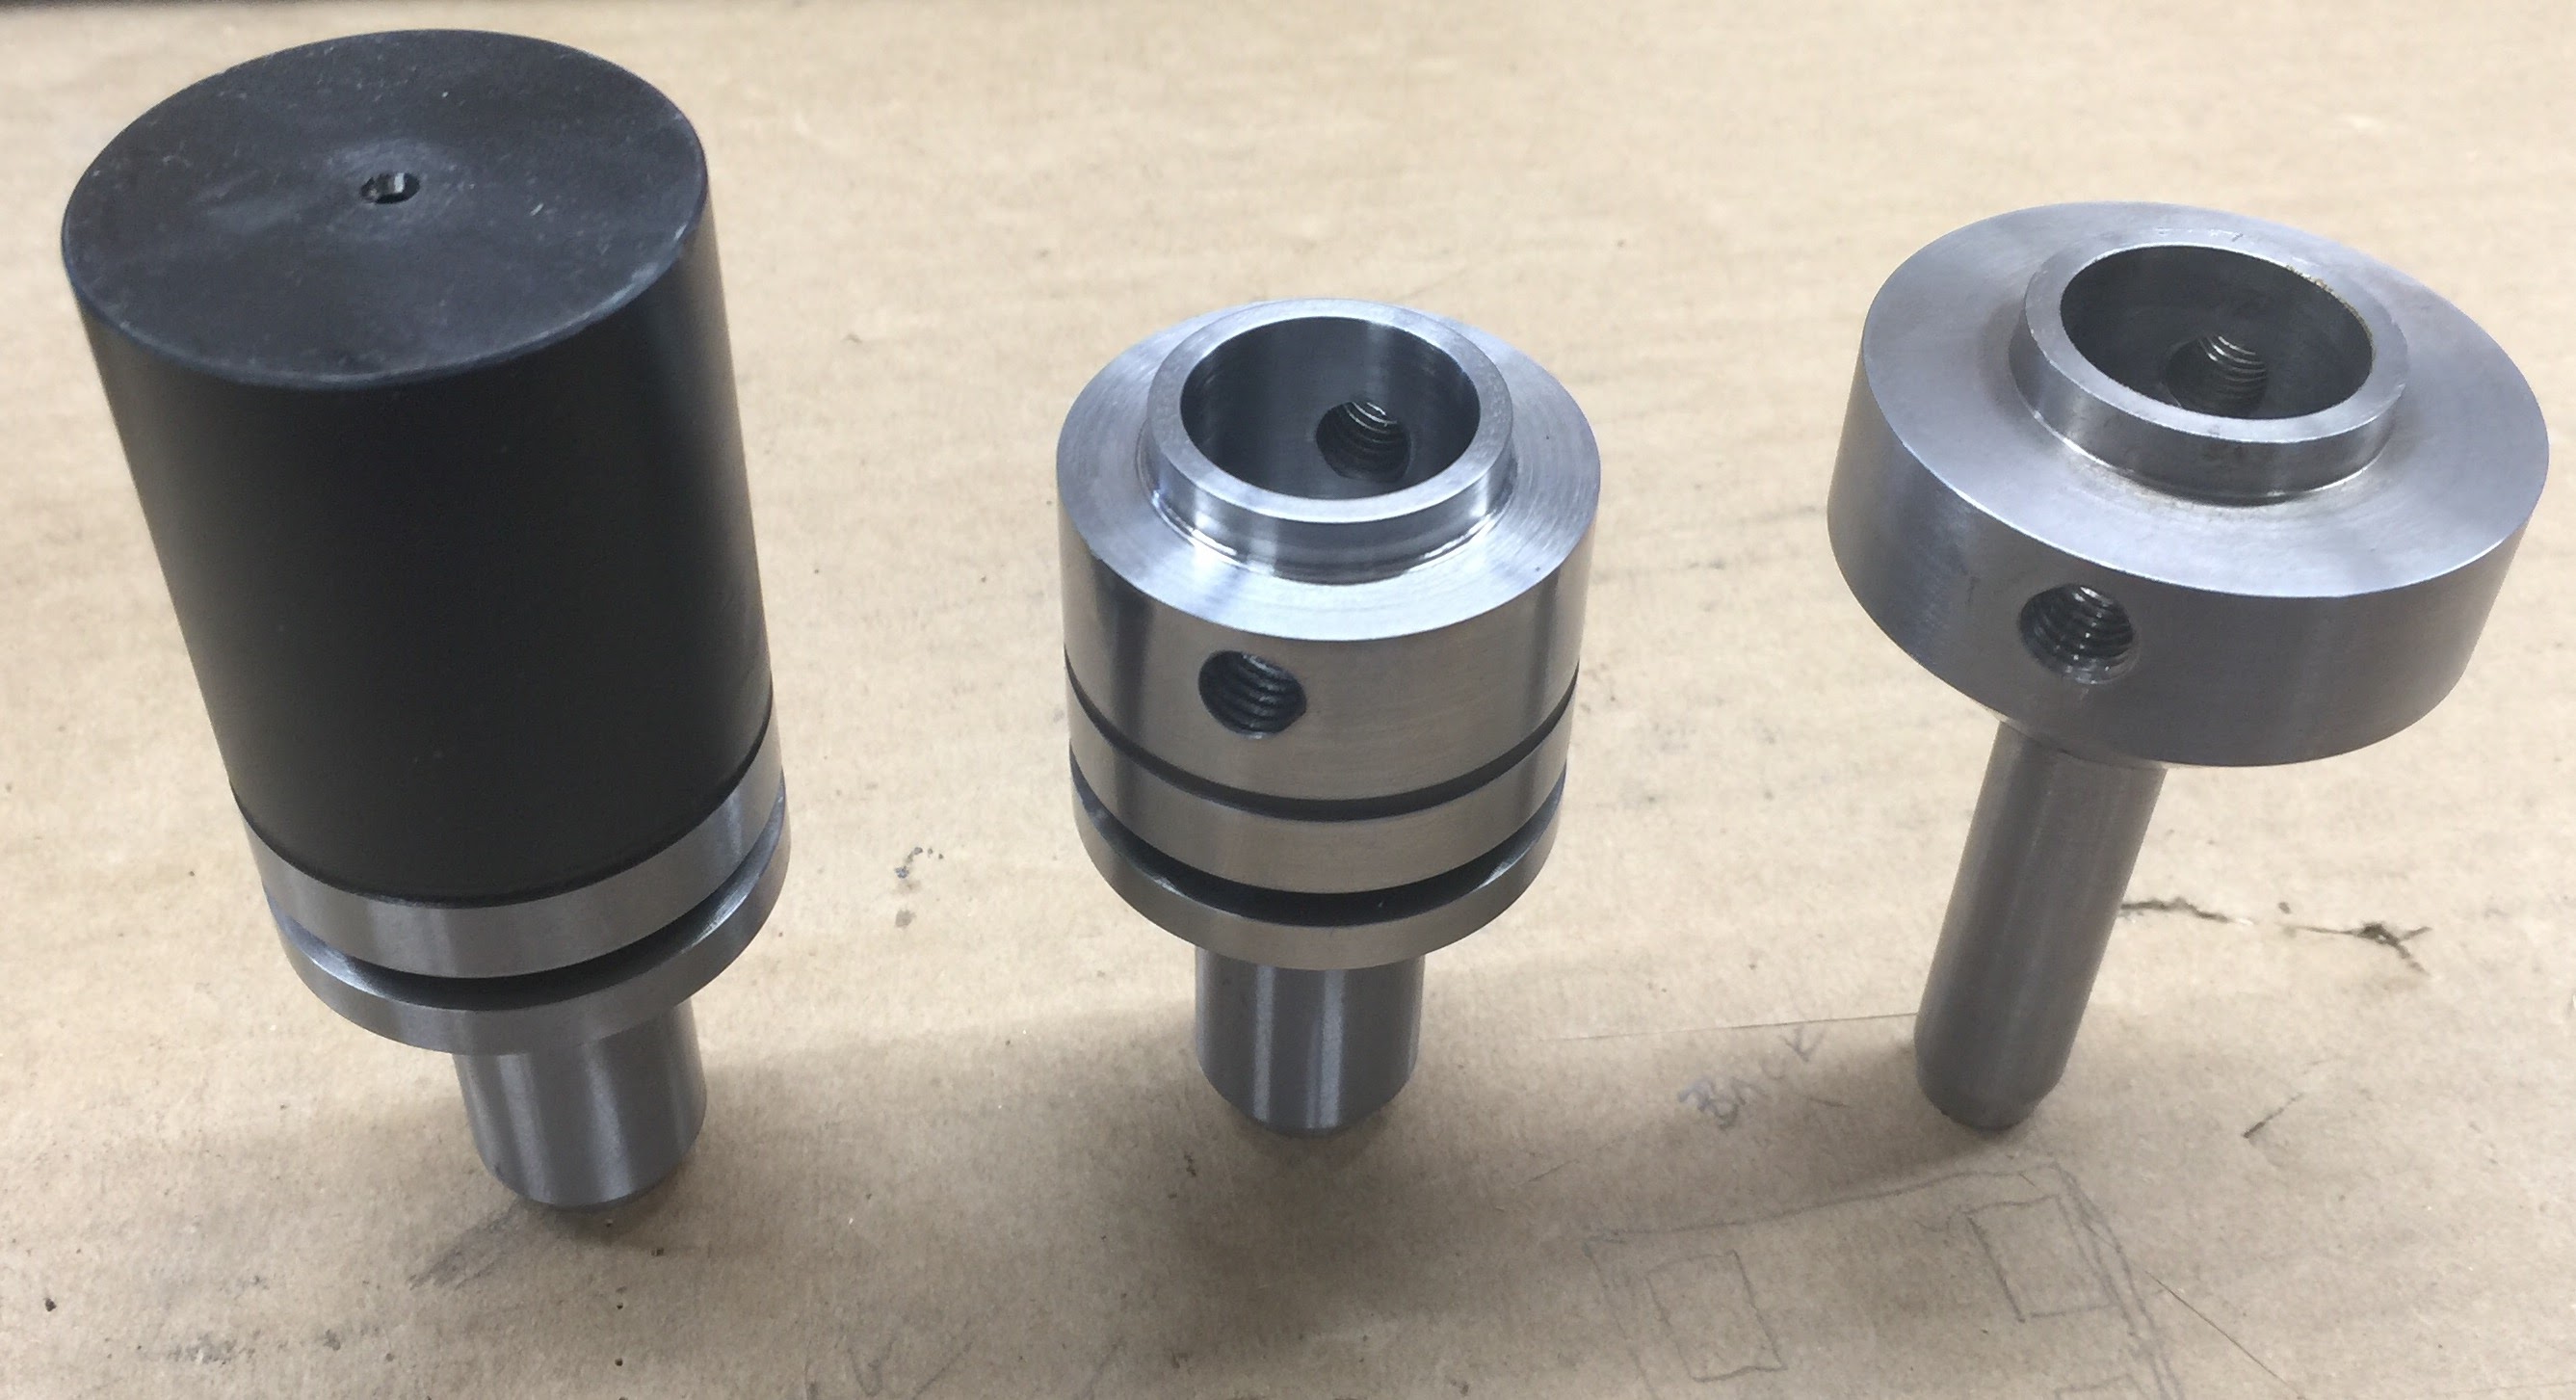
I also made a TTS mount for the probe by copying the probe-side of the shank that came with my MP11 onto a machinable TTS blank purchased from Tormach ($20). In the below photo, the un-machined TTS blank is on the left, the new TTS holder turned from a similar blank is in the center, and the original 1/2″ straight shank probe holder is on the right.
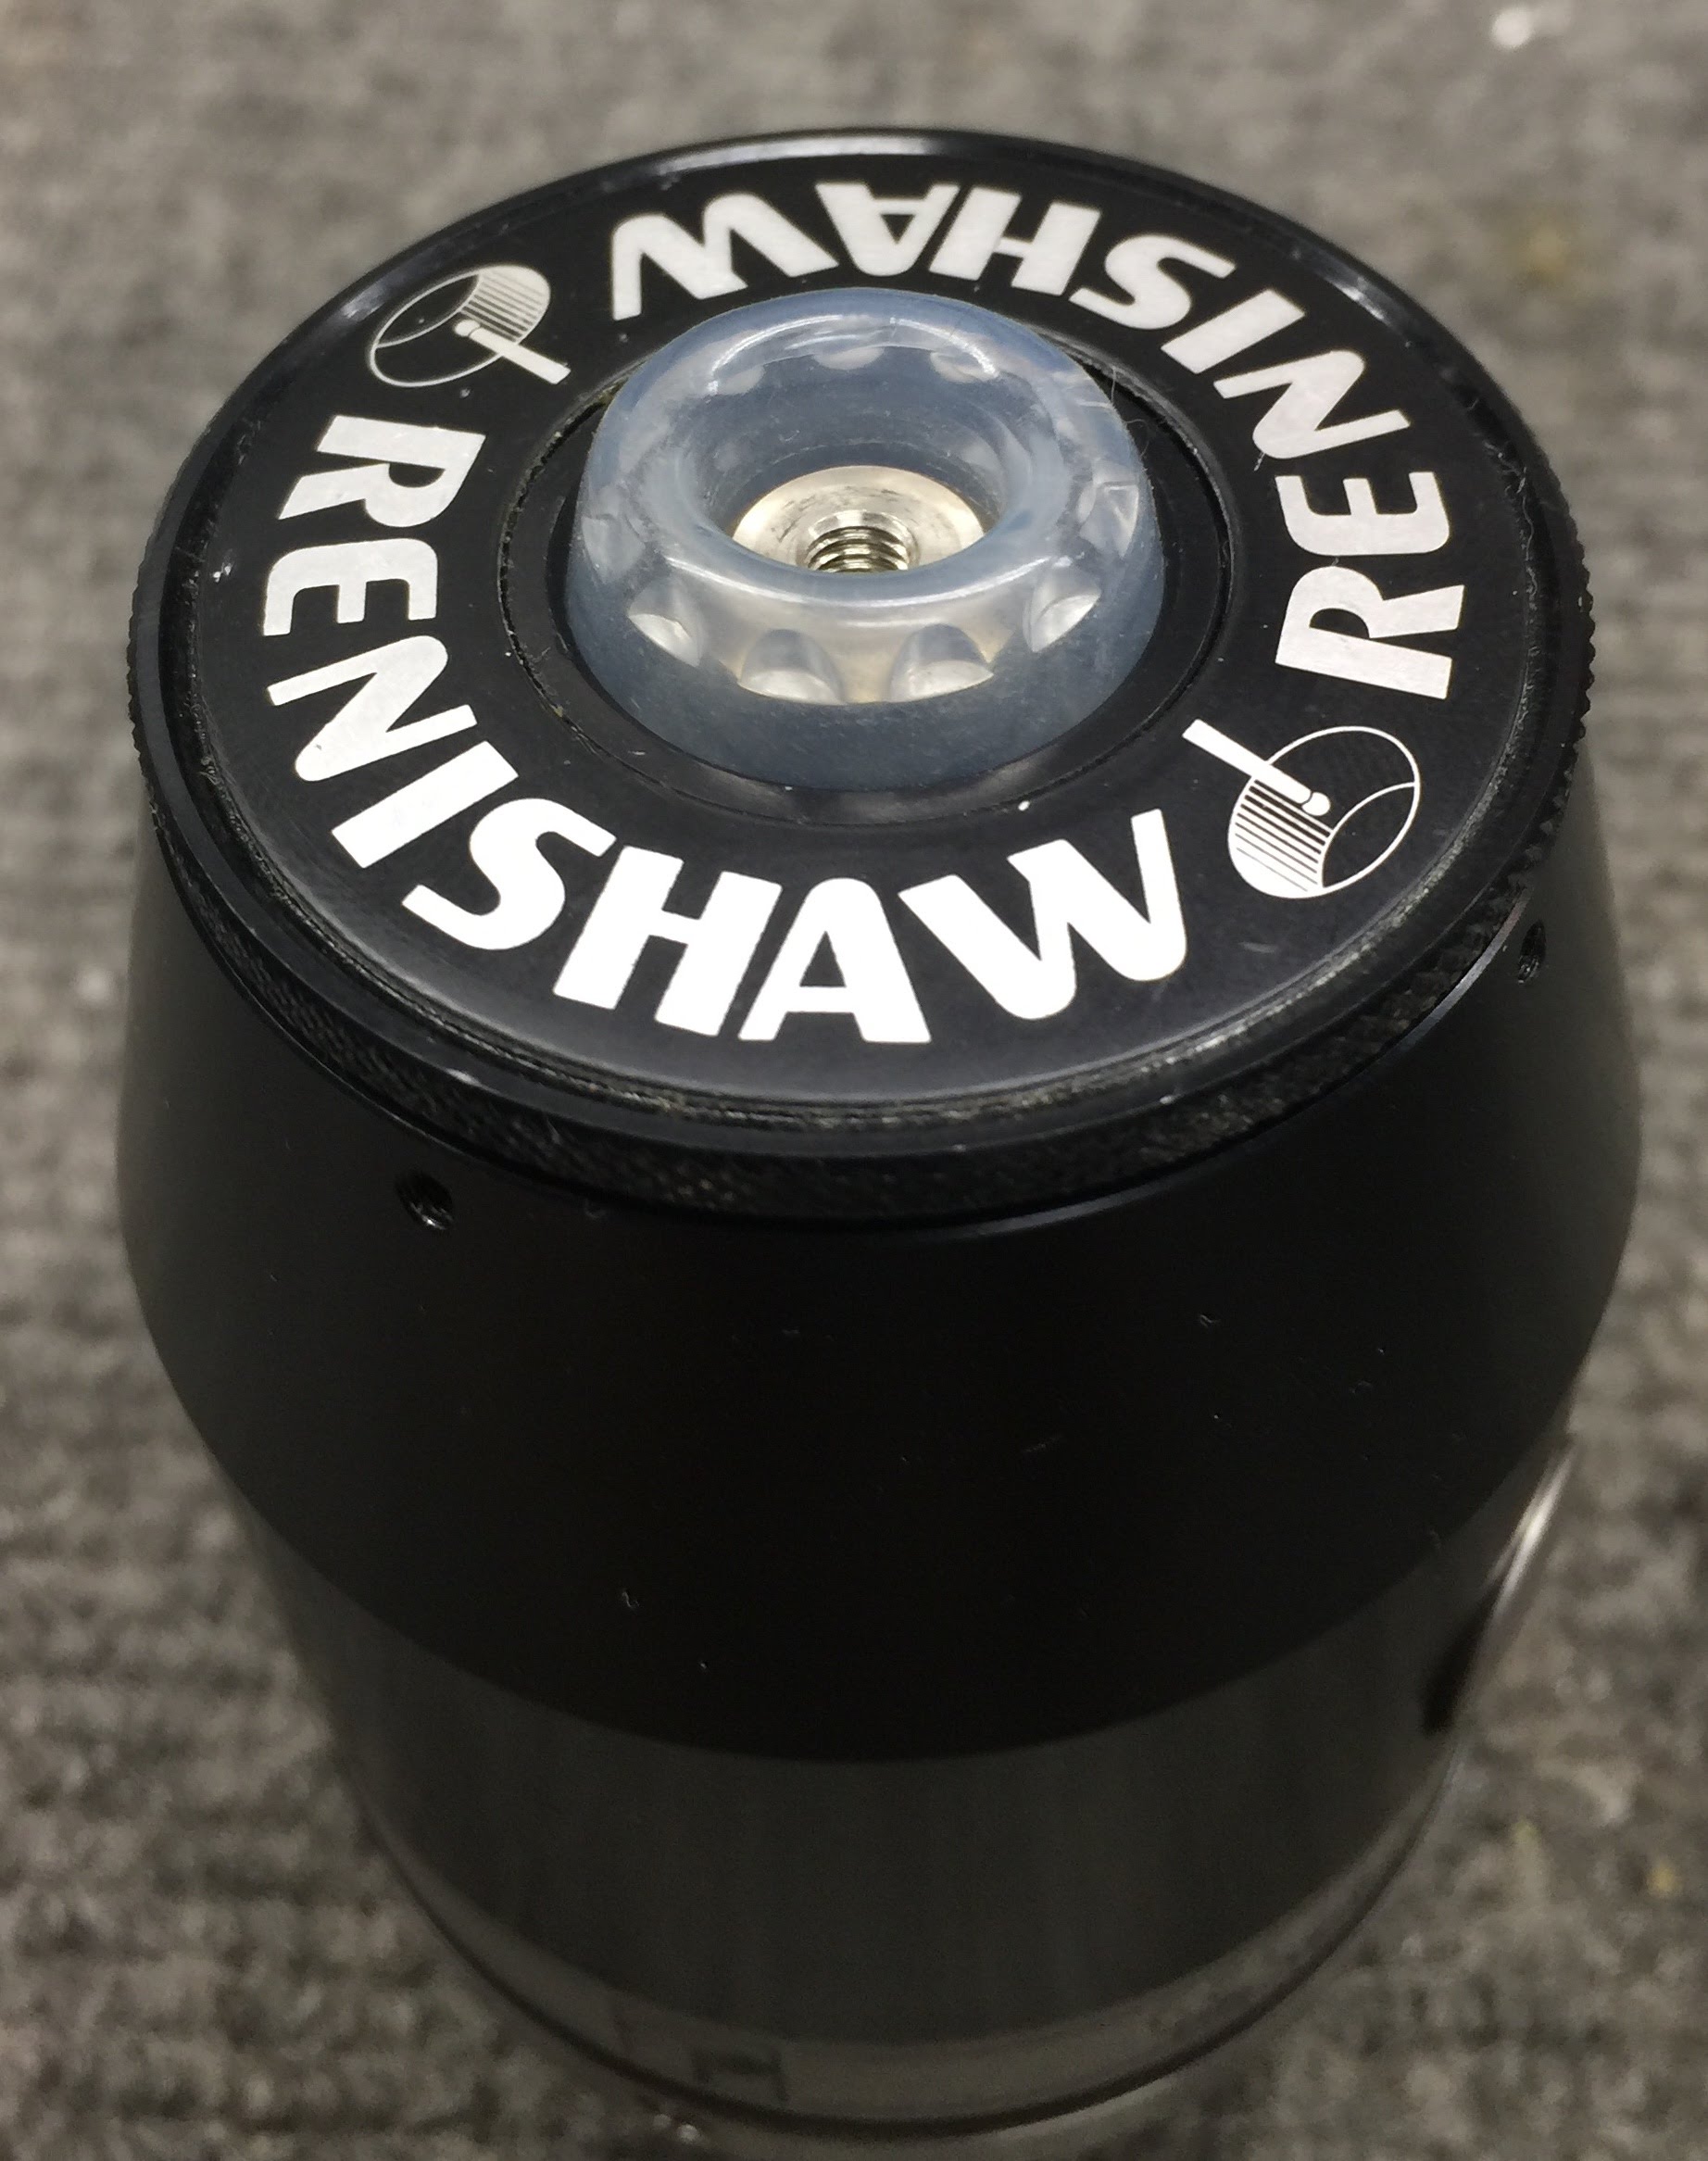
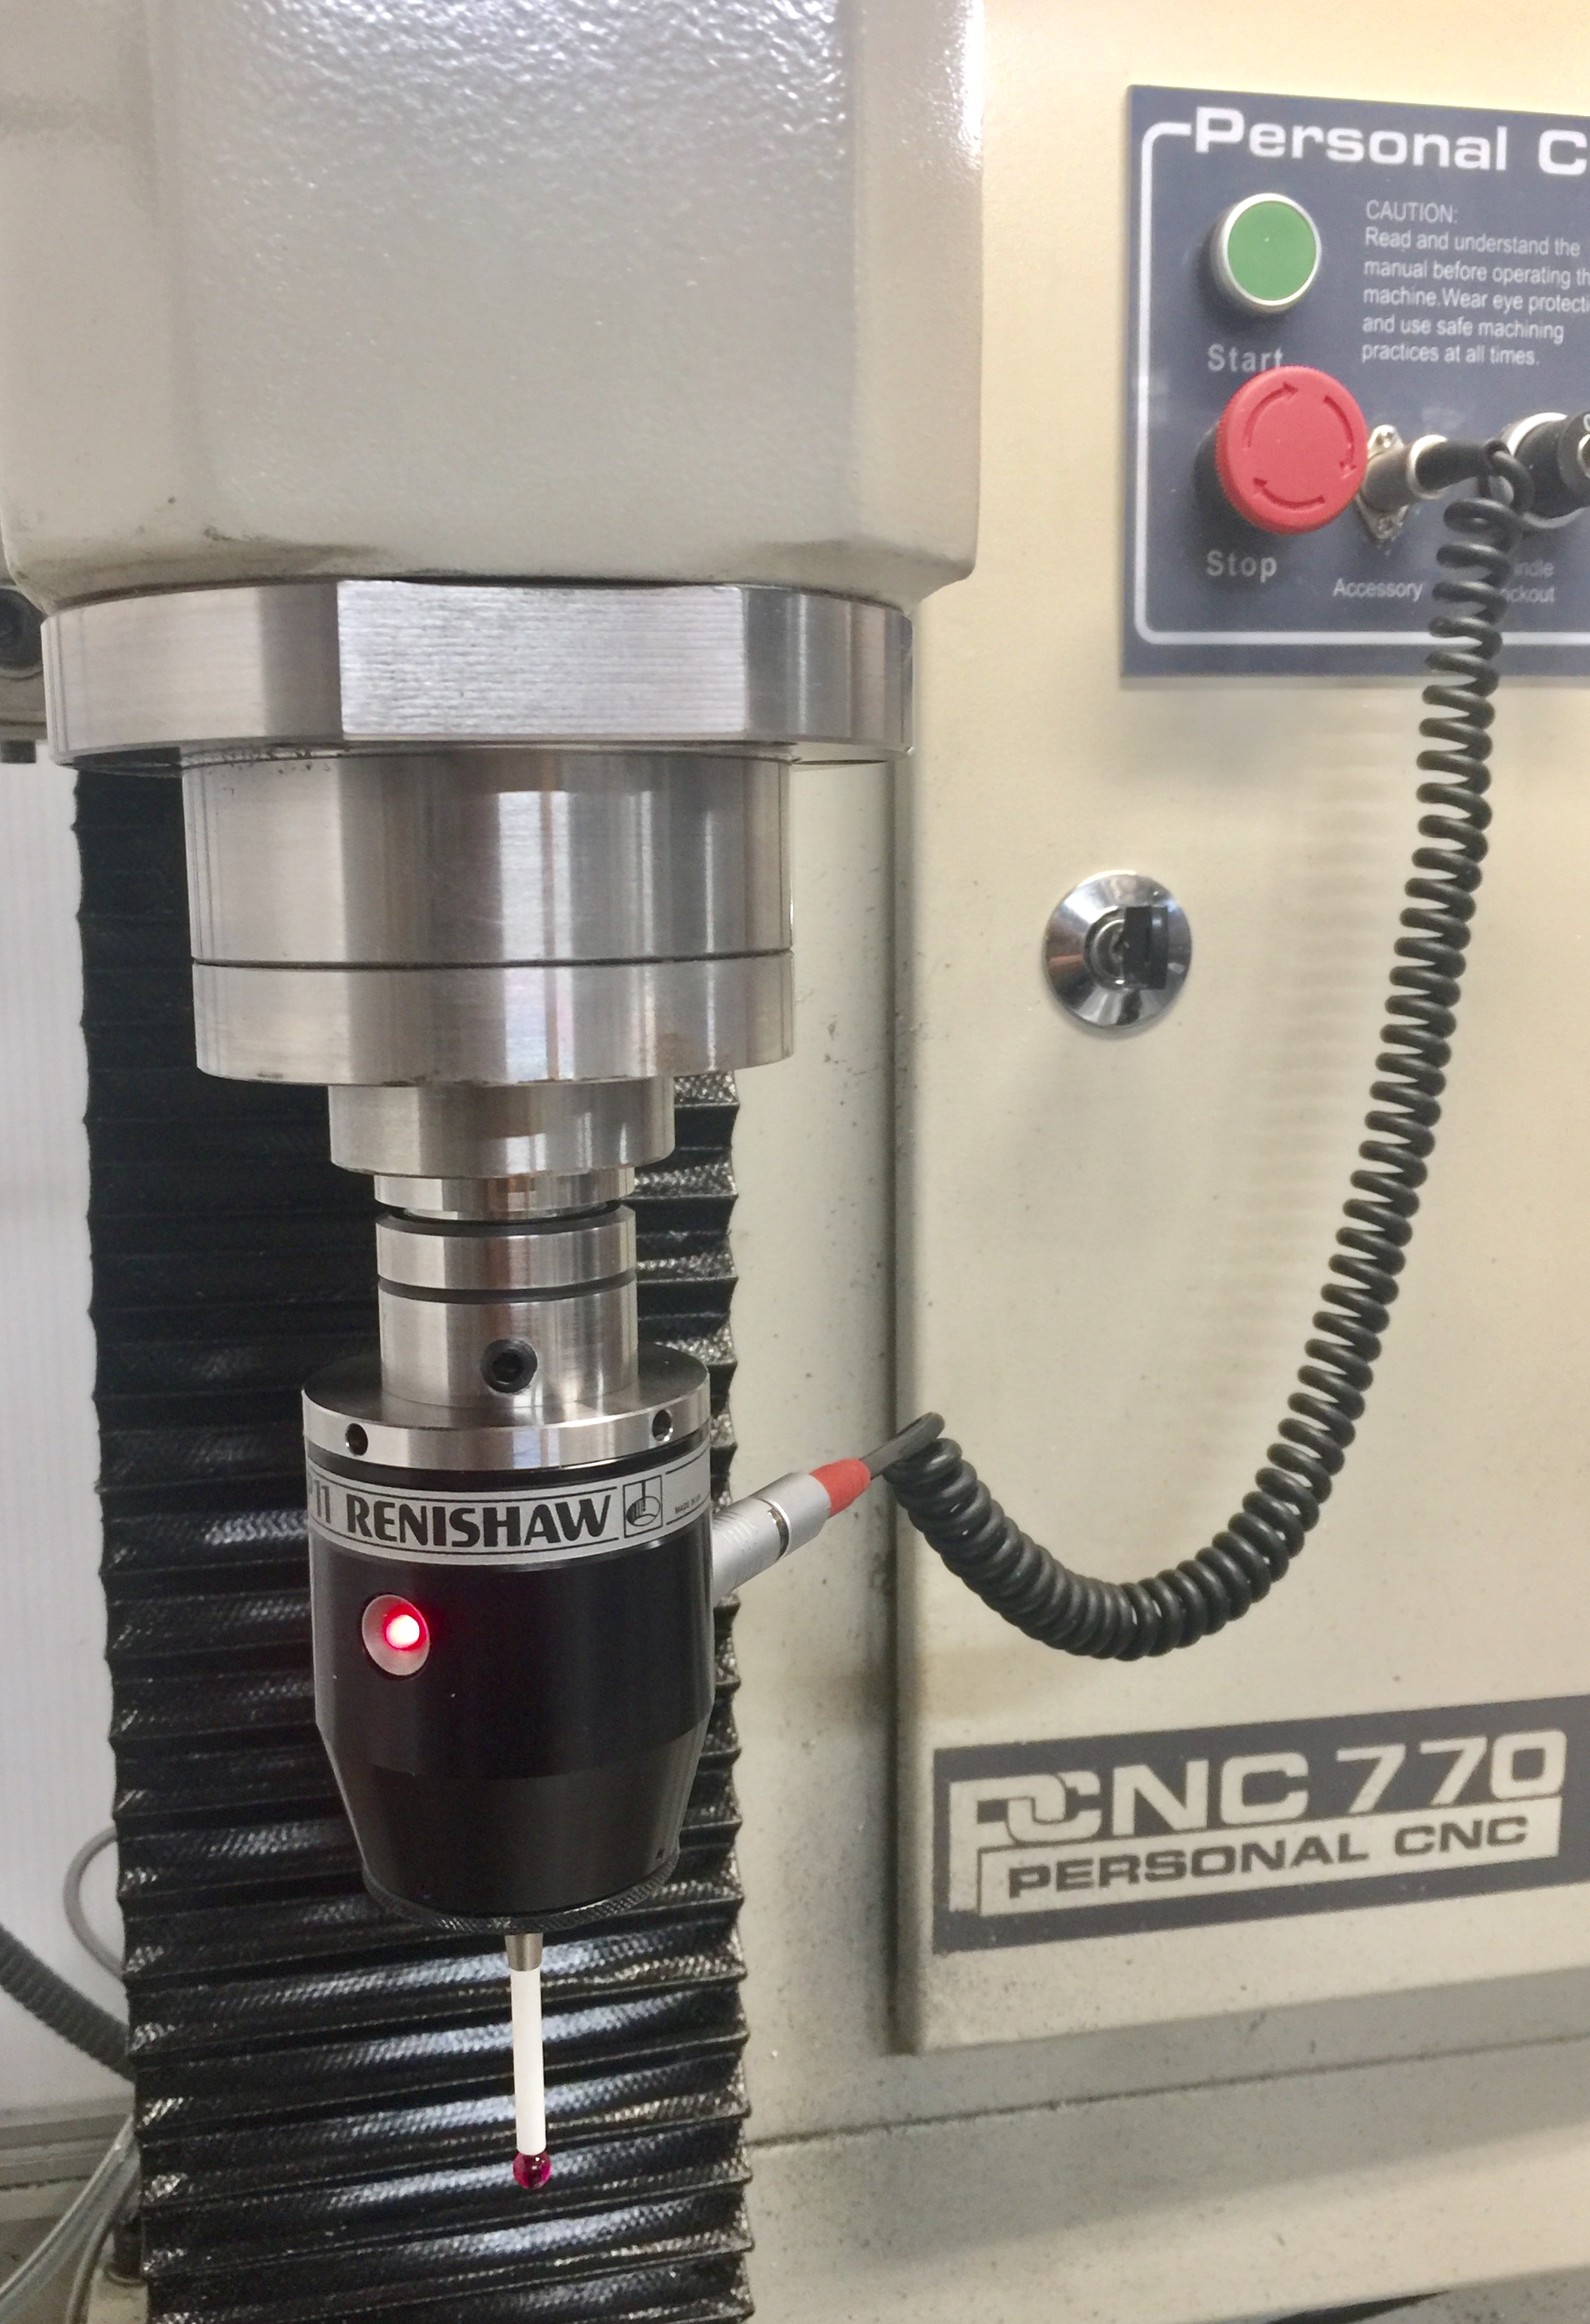
The finished probe, without a stylus installed, is shown below
Electrical Connections
The last bit is the electrical hookup. The MP11 is an active probe and as such has electronics inside, not just metal contacts. Still, the output is not too bad to deal with. It is a solid state relay (SSR) and acts like a dry contact switch.
The connections between the MP11 and the Tormacn PCNC770 are shown below:

One small incompatibility is that the Renishaw documentation states that +15V to +30V is required to power the MP11’s +Ve rail, but the Tormach mill has only +12V and +5V outputs. Bench testing seemed to indicate pretty good margin on the low end of the Renishaw spec. It worked down to +10V so, at least for now, I simply connected the +12V Tormach output to +Ve on the MP11. It seems to work OK.
The worst part of the electrical hookup was paying $60 for the plug that matches the jack in the MP11. After a lot of Google searching, I found ONE place to buy it
Once the part arrived, I got the true manufacture and part number. The plug is made by Fischer Connectors:
The part number is 101716, BUT you also need the strain relief (cable clamp), which RFM neglected to supply (for my >$60). The Fischer guys were very helpful and sent me the strain relief as a free sample. The part number of that is 106986. I don’t know if the plug would be cheaper from Fischer than RFM, or even if Fischer sells direct at all. If you do buy an MP11 on eBay, it’s worth it to pay more and get a cable with the right connector on the probe end. The Tormach end is a low cost 5-pin DIN plug which is easy to get.
Adjustment
The last thing to do is install a stylus and dial in the set screws to get it concentric. For me, this was a pretty tricky adjustment (RTFM), but I did get better as I kept at it. At first I thought I would be “smart” and do the adjustments on the lathe (unpowered) in a nice 3/4″ 5C collet with less than 0.0001 run out using and a dial test indicator. The lathe made it comfortable and fast to turn the probe by hand and quickly hit the right set screw, and after about 30 minutes I had the runout down to less than 0.0002″. Cool!…..until I actually put the probe in my mill.
In the Tormach Pathpilot software, I went to the probe setup screen. One thing to note is that “Digitizing Probe” should be checked in the “Settings” tab. When I did the Probe Tip Adjustment, the probe was out by almost 0.002″! My careful lathe setup was for naught. I suspect doing a static adjustment, without actually deflecting the probe, has faults. The adjustment needs to be done on the mill, with actual probing.
Since the MP11 has 4 adjustment screws that are 90 degrees apart, rather than three at 120 degrees (as expected by the PP software). Pathpilot’s “Probe Tip Adjustment” screen is not that useful. Instead I moved the probe to within about 0.1″ of the back face of my vise and repeatedly used the “Find Y+” button in the “X/Y/Z Probe” tab, and noted the readings for each 90 degree position. Adjustment was made faster by calculating a target value from the sum of two 180-degree-apart readings and dividing by 2. In about 15 minutes, I was able to get back to <0.0002″ runout.
Other Renishaw Probes on eBay
The MP11 is a nice fit for the Tormach because it contains sensing electronics in the probe and does not require an external box, but this probe seems to be not that common. A more common (and often cheaper) Renishaw probe that many have re-purposed is the MP3. The interface for that will likely be different than for the MP11, but many home-CNCers have made these work.
Update 6/2020
My probe started sticking such that Tormach probe routines would fail. I pulled it apart and it appeared to be slightly gummed up. I suppose I either used too much oil, or the oil I used was not a good choice. In any case, I cleaned it with isopropanol, and reapplied just a TINY amount of light oil. It works again, but I still do not know what the magic fluid is that is used in these, or other, probes. If anyone reading has any real info, please speak up.
Thanks for reading. I hope this proves to helpful.

HI,
I enjoyed your writeup on the MP11. I recently acquired one, also without a cable. So I did some research starting with your links. I found this https://ecommerce.keiconn.com/s-103-a054-130.html that appears to be the correct connector. The Fischer catalog lists several cable clamps for the plug.
I was wondering how you decided on which clamp to use. also, do you think it was worth it? I can get a cable pre-made for $132
I am using a Centroid Acorn with the digitizing package on a Mikini 1610 CNC mill
LikeLike