I dug out a pair of the Radio Shack classic mini speakers, Minimus 7s, that I hadn’t used for years. They became part of a major HiFi downsize because, I was forced to admit that our previous speakers were too damn big for the room. One major problem cropped up however. The spring loaded wire clips lost all their “grab”, so the wires wouldn’t stay in. I don’t know if this is a common Minimus 7 problem, but it was pretty bad on these.

I decided to replace the spring clips with binding posts which meant pulling the speakers apart. In the process of looking up how to open the cases up, I stumbled onto articles about upgrading the crossovers, and figured, “Why not?”
Here is one of several articles on crossover upgrades. There are some varying approaches, but this seemed to be the best documented and made the most sense. The original “lostinsound” link went dead, but here is the preserved page from the Wayback machine: https://web.archive.org/web/20181230224104/http://www.lostinsound.space/minimus-7-upgrade/
You can, of course, go crazy with Google on a topic like this.
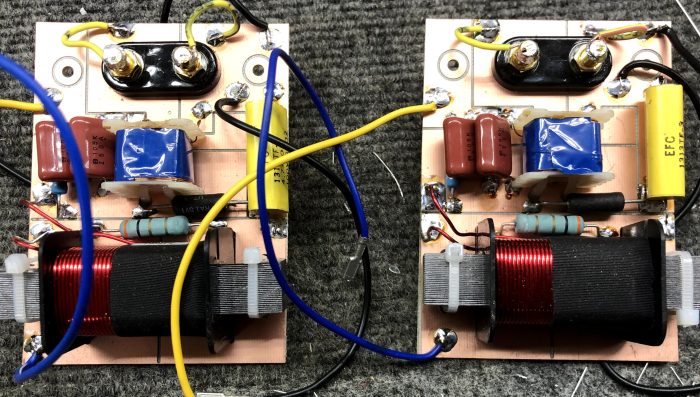
In order to mount the new binding posts, I needed to pull out the old plastic terminals and crossover parts. After hand drawing out the new crossover circuit (see link above) on a copper-clad board (see below), I cut it on my CNC, but it wouldn’t be that hard to cut it by hand. I used single-sided copper-clad so that the un-clad side could mount directly against inside the speakers’ metal case.
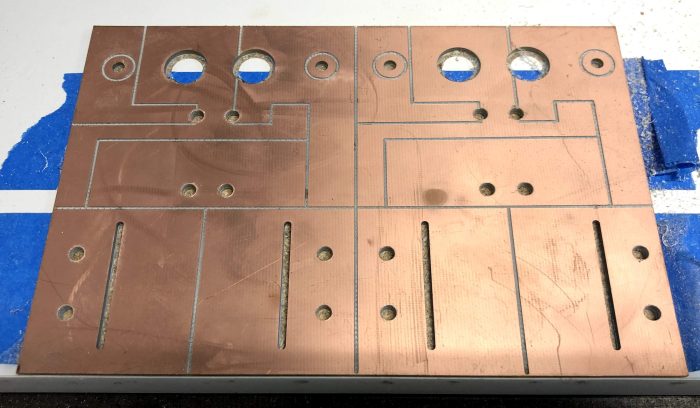
I actually had to do the above board twice, as my my first attempt resulted in the crossover parts hitting the back of the woofer when I tried to putting it all back together. Doh!!
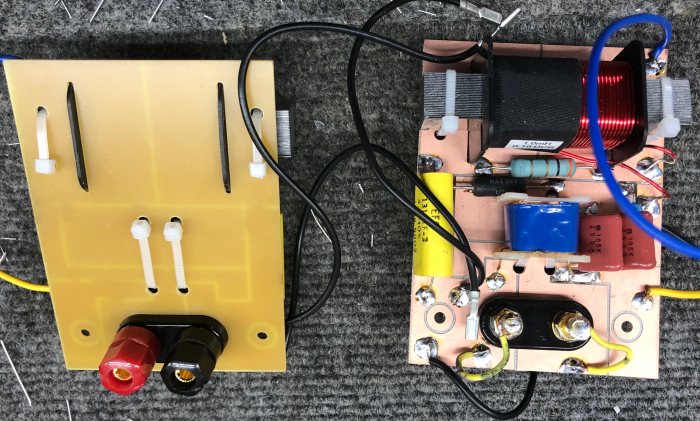
The 2nd, properly fitting board, is below.
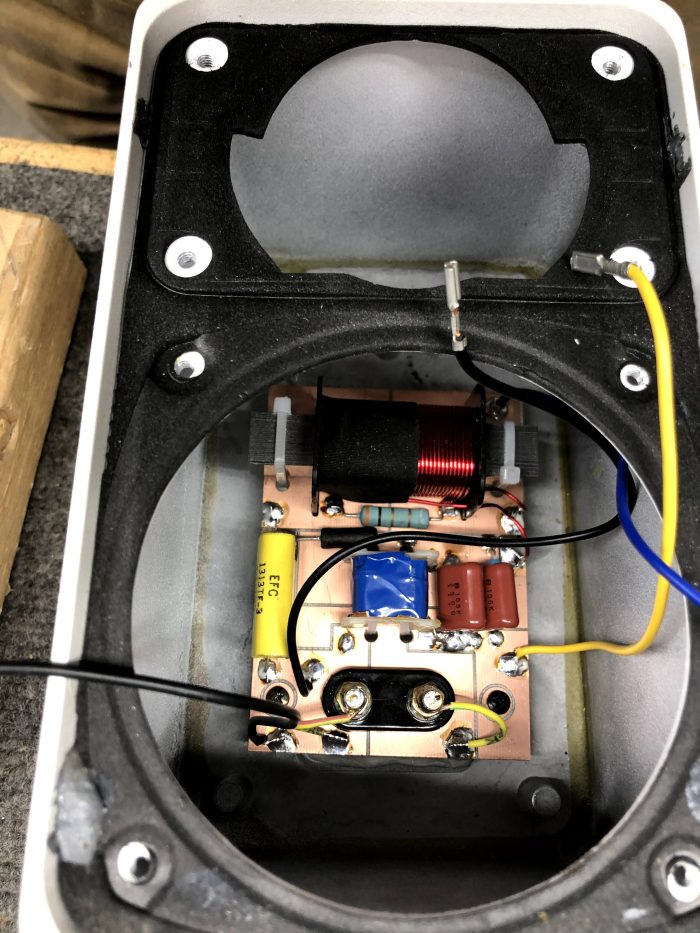
The below pic, shows the board test fit into the case. I used a thin bead of caulking rope to seal the board against the back. These little acoustic suspension speakers need to be air tight.
The speakers sound pretty good with my 25W/channel amp, but I cant really say if they sound better than before, since it has been so long since I used them with the old crossover. But since upgrading the crossover wasn’t that much more work than changing the terminal posts, it seems worth it.
