When working on old electronics, you often need to clean gunked up switches and pots that are difficult to get to. Aerosol cleaners come with a little straw to direct the spray, but many times you can’t get the can where you need it to go, or the angle is such that spray doesn’t end up where it ‘s needed, or there is a lot of waste and excessive fumes. The solution is a little flexible tube with a stick on the end so you have a handle to direct the tube end in tight spots. The spray can straws are sold on Amazon by many sellers. Here’s one: https://www.amazon.com/dp/B09K3T496C
The holder is any stick-like object with a hole drilled in the end. A chopstick would be perfect, but I didn’t have one at hand.
We have used Bose PAs for a numbers of years (see my Bose L1 Model 1 repair saga in another post). We like the fact that they are relatively lightweight, compact, and still sound quite good. Since setting the tower up is pretty quick, I found that I spent more time setting up other parts of the system, such as the mixer, mics, etc. This is all very repetitive, and each of those pieces have their own travel case which adds to car packing volume and loading time. This problem is of course small scale as live music set-ups go, but since I’m the only “roadie” in this production, I wanted to simplify the routine as much as possible.
My idea was to be able to leave everything connected to the mixer and fold it up into a magic “Transformer” style case that holds as much as possible when folded, and also doubles as a mixer stand when open, so that the equipment doesn’t have to be unpacked during setup and repacked into cases during breakdown.
The above picture is realization of the idea. Most of it is built with 3/8″ birch plywood cut using a track saw, except for the drawer at the bottom, which is made from laser-cut 1/8″ plywood.
I modeled the whole thing in Fusion 360 to make sure that the box was as small as possible while ensuring that the pieces could be folded up without banging into each other.
Fusion 360 model, to make sure everything fit. Utilizing revolute joints in Fusion 360 allowed the motions to be checked for interference. CAD made it possible to “try out” many different design ideas before starting to build.
The box holds the Bose T*S Tonematch mixer, four Shure wireless mic receivers and mics (which are stored in the drawer at the bottom), cables, and an AC adapter for the mic receivers. I retired the Shure receivers’ four heavy AC adapters in favor of a single switched-mode higher current adapter that powers all four. This cut a LOT of weight since the old adapters were old-school iron transformer types. I did have some concern that paralleling power to the four receivers or using a switched-mode adapter might create a ground loop or noise problem, but I have heard no Ill effects from making this change.
The overall setup eliminates 5 travel cases and a folding table, and cuts roughly 15 minutes off set up and breakdown time. None of the cables have to be unplugged during breakdown.
Above shows the mic drawer with laser cut foam and slots for batteries. The mixer is held in place by a padded L-bracket that swings away for set up. The lever keeps the mixer from swinging around during travel.
The box folds up into a neat 13 inch cube ready to travel. Since I’m the only roadie carrying this, I opted to make the design more lightweight than rugged. Time will tell if that was a bad idea. I did put corner bumpers everywhere except the top front corners as seen in the above picture. I had to leave those off so the top would sit flat when opened. The carrying handle is an old belt.
It’s a great feeling when you build something that is an immediate time saver.
Setting rodent traps in awkward areas like attics and crawl spaces is hard enough, but checking traps in those locations every few days gets tiring, to the point where maybe you skip a few days, then forget where the traps are. Then you get, “What’s that smell?”.
I want to be able to check traps frequently, but without crawling around, preferably from a comfortable chair while using my my smartphone. There are products on the market that feature remote monitoring, but they are extraordinarily expensive, and often only available through professional exterminators. Victor also sells a WiFi enabled rat zapper, but my experience with it was not good. At $60, the price is not out of line for a WiFi enabled device, but it didn’t actually catch any rats for me.
I’ve always had decent results with basic snap traps with the yellow paddle, as shown below. I find these easier to set than snap traps with the tiny metal catch. The perfect solution for remote monitoring would be this kind of trap, but with a wireless status flag. In today’s world of IOT devices, I’m a bit surprised that this isn’t already sold at Home Depot, but AFAICT, it’s not.
TLDR: 17 Watt per channel Dynaco ST35 built as a “mini” MC275(i.e. MC217)
I’m a fan of old McIntosh HiFi equipment, especially their tube power amplifiers. They have a very unique design both electronically and also physically. For those unfamiliar, below is one of their flagship amps of the 1960s, an MC275, which outputs 75 Watts per channel…..and weighs close to 70 pounds!
McIntosh MC275 Power Amp – A tube stereo classic
I’ve had, for several years, a partial collection of parts (transformers, tubes, etc) to build a copy of a much more modest stereo amp called the Dynaco ST35. Dynaco was a lower cost competitor of McIntosh in those days but was still considered a good quality path to HiFi for many budget conscious college students (like me). As you can see below, the Dynaco unit, true to its budget genealogy, is a pretty plain box.
Dynaco ST35 tube stereo power amplifier output 17.5 Watts per channel
I wanted to make use of my tube amp parts, but in a way that “looked cooler”. I decided to build a “Mini-me” of a McIntosh MC275 with the innards of a Dynaco ST35. The key to this would be the metal work. Two tricky aspects in particular were the McIntosh slanted front panel and the transformer covers.
We have a fairly large patio that was lit by one crummy three-bulb can type fixture. In the evenings the light was horrible – too bright under the fixture and dark everywhere else. The ceiling is also fairly low.
I had an idea of using several LED MR16 bulbs and copper tubing that would be like branches of a tree. This “natural” look also had the convenient advantage of requiring no precise bends 🙂
I dug out a pair of the Radio Shack classic mini speakers, Minimus 7s, that I hadn’t used for years. They became part of a major HiFi downsize because, I was forced to admit that our previous speakers were too damn big for the room. One major problem cropped up however. The spring loaded wire clips lost all their “grab”, so the wires wouldn’t stay in. I don’t know if this is a common Minimus 7 problem, but it was pretty bad on these.
I decided to replace the spring clips with binding posts which meant pulling the speakers apart. In the process of looking up how to open the cases up, I stumbled onto articles about upgrading the crossovers, and figured, “Why not?”
This post is mostly a shout out to Ronald Dekker, the inventor and seller of a very neat tube tester kit called the uTracer. I did quite a bit of web searching before buying this kit in 2014. It was at that time, and still appears to be, the best device of its kind, especially when you compare to the (high) prices of old tube testers or (you better be sitting down) a Tektronix 570 curve tracer.
I had a large stash of tubes I wanted to sell on eBay. I found that I got much better prices for tested tubes, and in the case of audio power tubes, EVEN BETTER prices if I matched characteristic curves. The uTracer device seems to be, far and away, the best most cost effective device to measure detailed tube data. Buyer’s were very happy when I shipped a curve-trace plot with each tube.
The uTracer is an extremely well thought out design. It is a perfect blend of old and new in that it measured tubes but interfaces to a PC, which provides control and displays the data plots. I won’t go into more detail here, because all is thoroughly explained on the uTracer web site: https://www.dos4ever.com/uTracer3/uTracer3_pag0.html
There are some incredibly slick uTracer builds on the above the site. Mine is pretty bare bones by comparison, but still did it’s job very well.
The number one component failure in antique electronic devices is old electrolytic capacitors. Most troublesome are the “can” type multi-segment capacitors. These are hard to find and can be quite expensive. More importantly, even if you find a replacement, it’s likely to be “old stock” and not certain to last since the some aspects of their “clock” started ticking when they were made, not when you start using them.
My approach has been to “re-cap” failed can capacitors with modern capacitors of equal or better ratings. This is cheaper, and also more reliable as long as high quality caps are used. Many think this can’t be done without cutting or damaging the can and impacting the appearance of the equipment. This would, of course, not be desirable in equipment where the can caps are visible, such as old McIntosh power amplifiers.
The rest of this post will show how to re-cap cans so they look completely original when done.
I still have a Philips 212 turntable that I bought new around 1974. This turntable is a classic from the heyday of affordable, but high quality, Hi-Fi gear.
Philips 212 turntable. A classic from 1971.
Over the years, my 212 developed all the ailments familiar to owners of these machines. The main power switch failed, and then the touch buttons stopped working. This post details my repair/modification project.
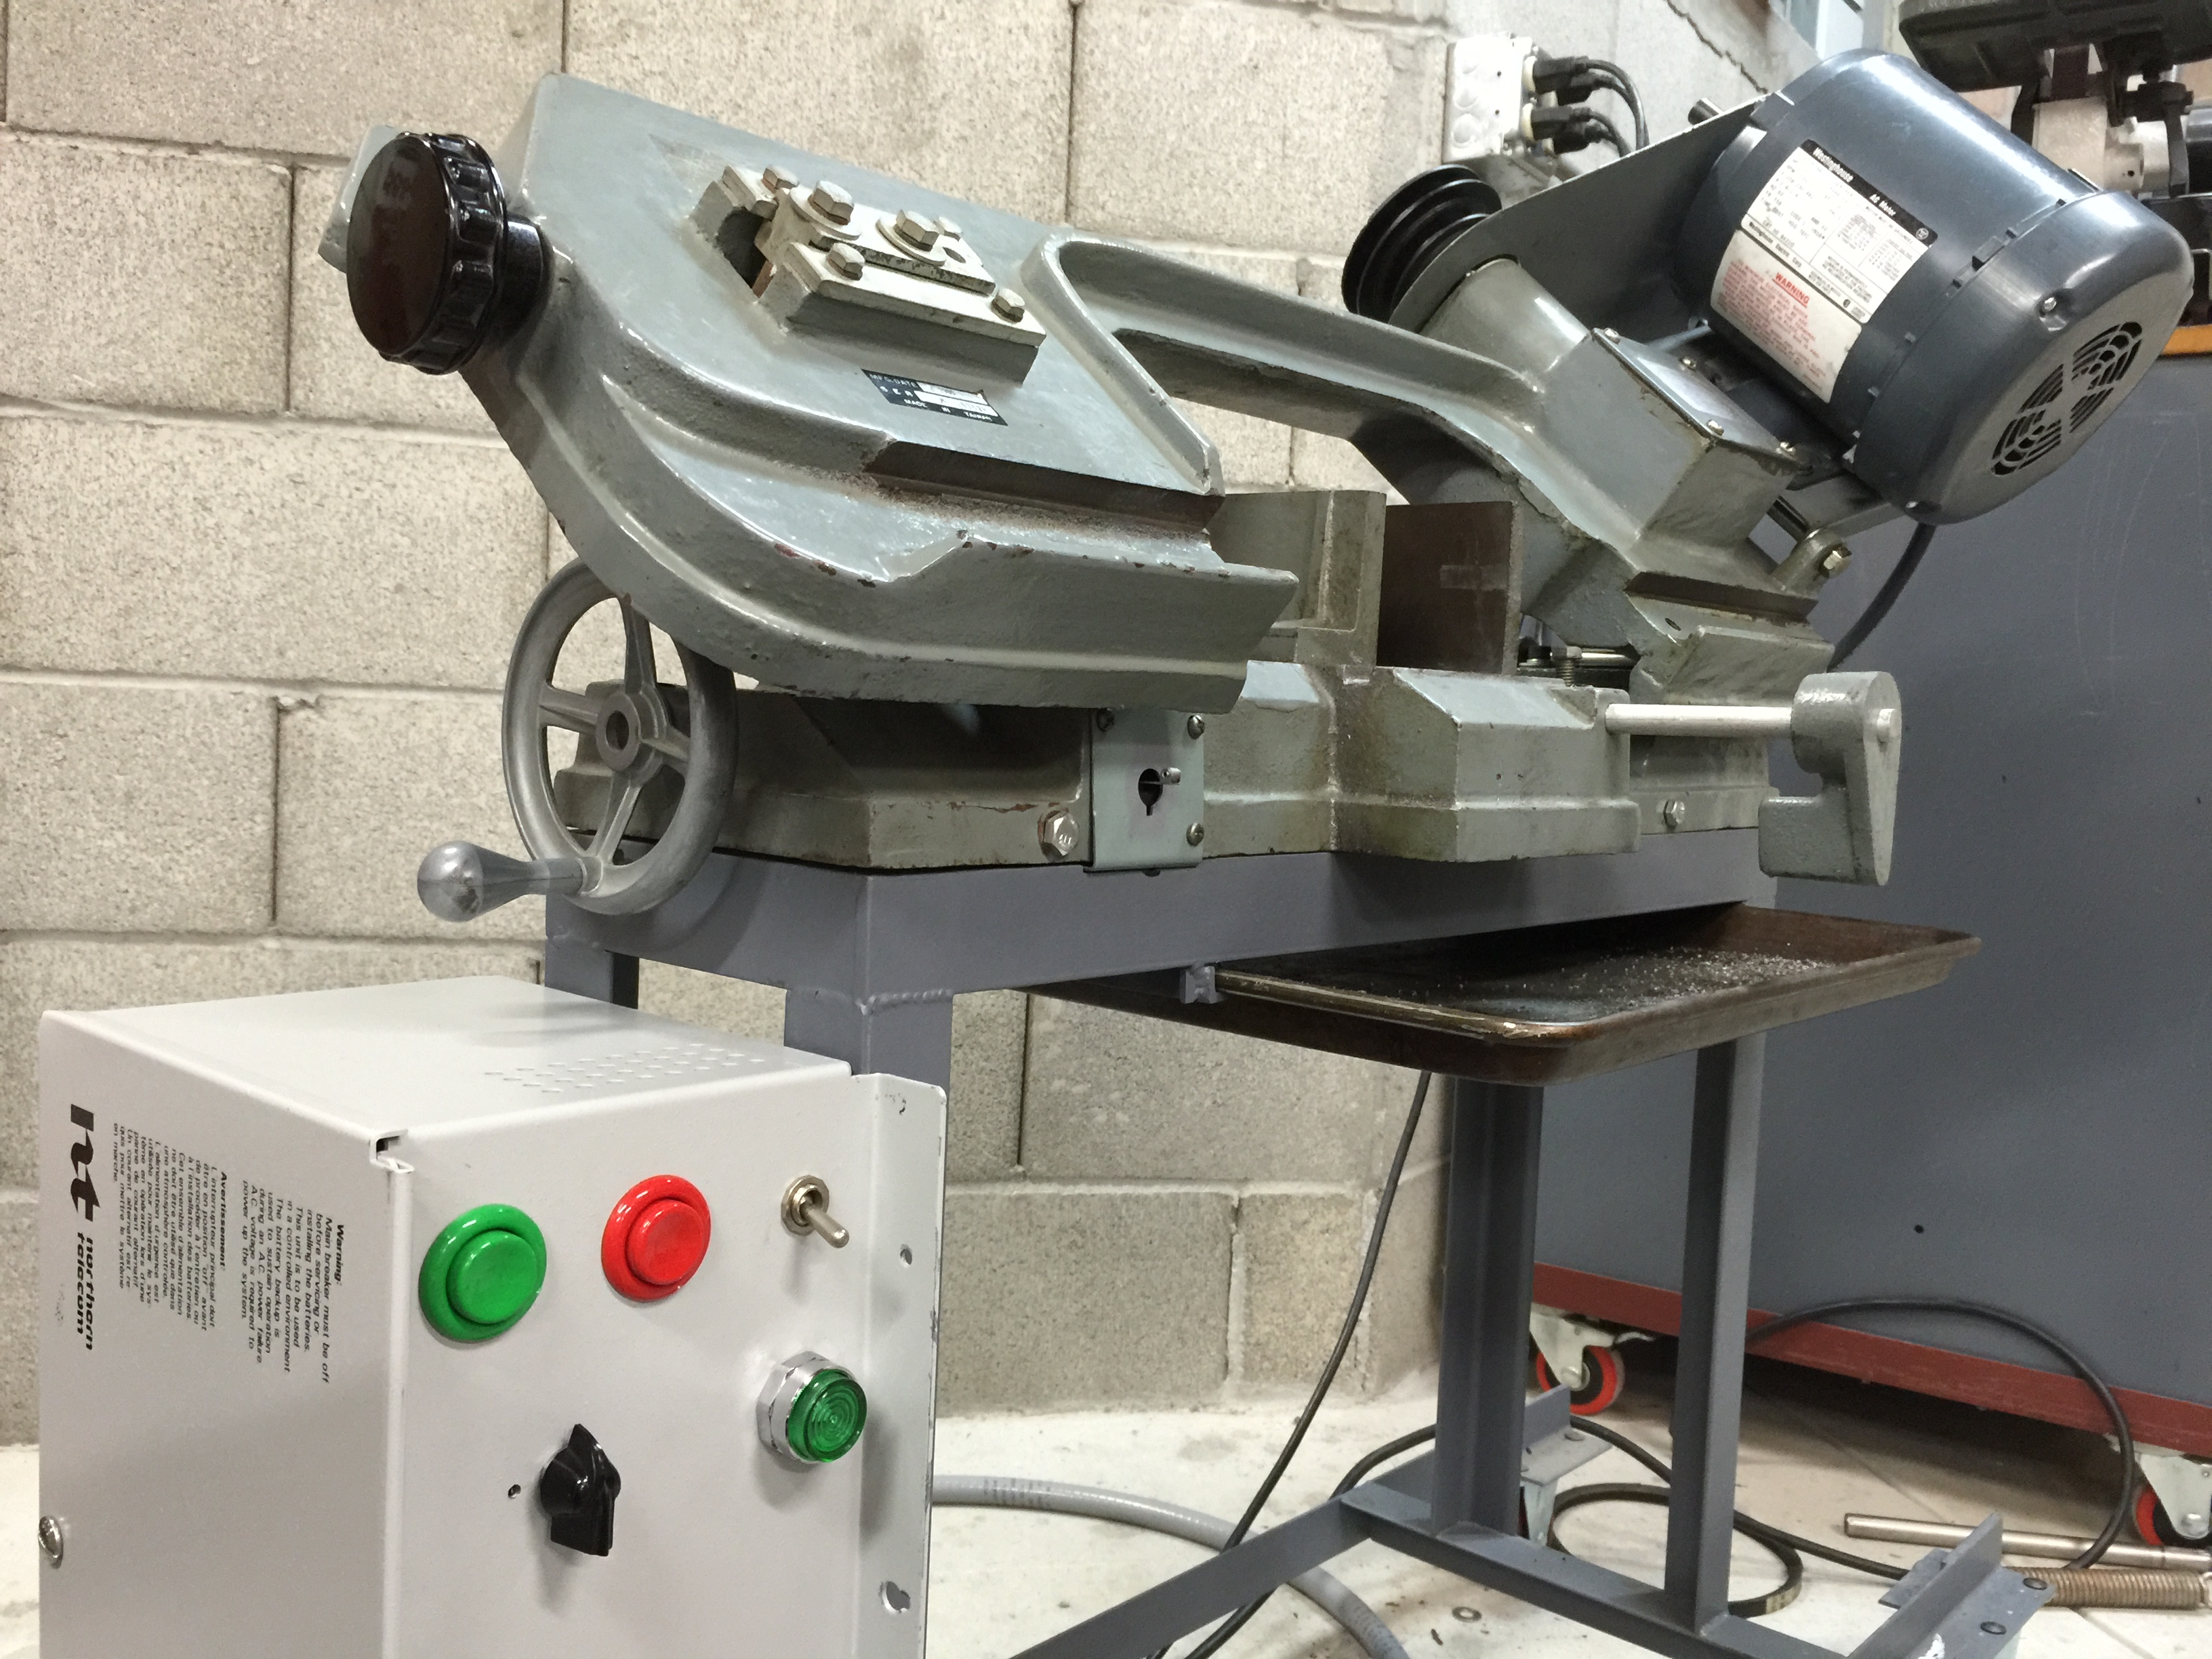
I got an older version of the ubiquitous 4×6 cheapo bandsaw when I bought my milling machine. It was an Enco brand, but is still more or less the same as all the others out there. There are tons of improvements that can be made to these saws.